37. Create a test plan
A test plan is a configuration used to launch a test suite. It consists of the following components:
-
Test suite name and description: Identify the test suite.
-
FRun configurations: Determine what tests will be generated when the test suite is executed.
-
Environment settings: Determine how the runs generated in this test suite will be executed.
To create a test plan:
-
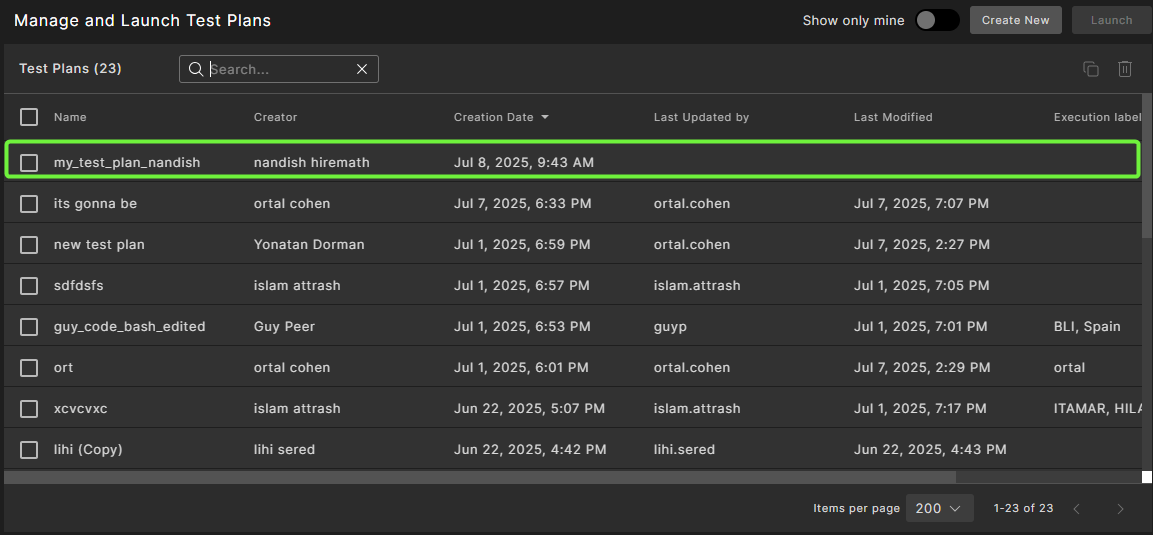
From your project, click Test Management > Test Plans.
The Test Plans tab is displayed.
-
Click Create New on the top right.
-
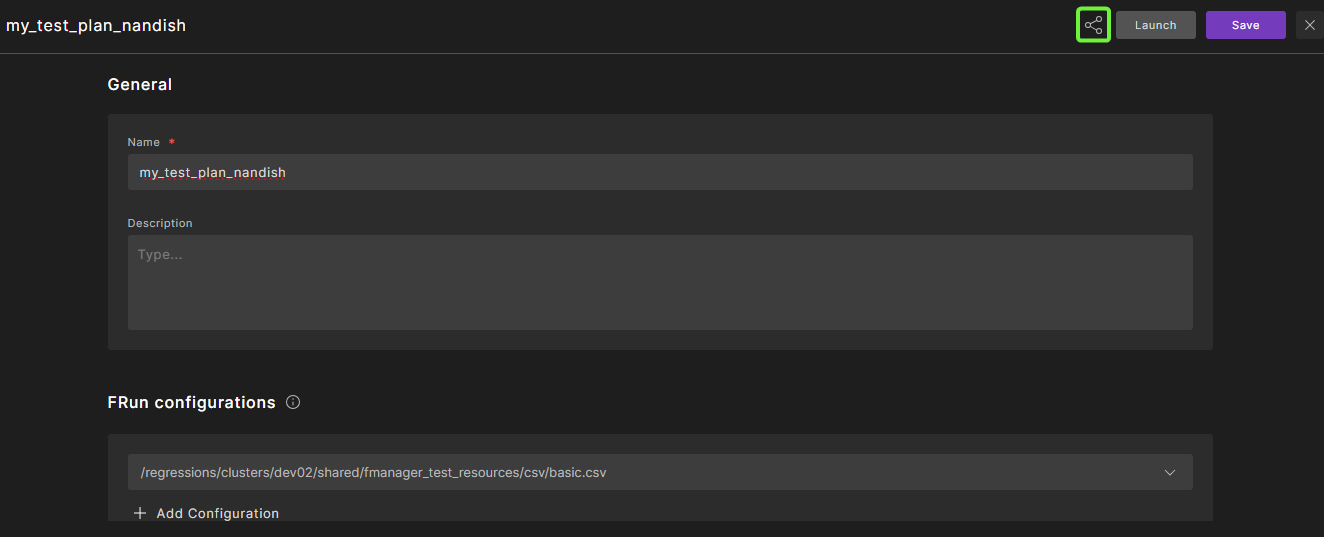
Under General, enter a Name and optionally a Description for the newly created test plan.
Notes:
-
In Select fields, you can select existing options or add new options by typing a value and clicking Add.
-
Hover over the (i) hints to get more information on each field.
-
-
Under FRun Configurations:
-
Select the path to an FRun CSV file or to a text file that lists the CSV files that define the tests to execute.
Note
The files must be visible to the Dispatcher, meaning they should either be located in the shared folder or inside the Docker image.
-
Click + Add Configuration to add an additional FRun file.
See the FRun Configurations field description.
-
-
Under Environment settings, select an existing environment settings entity.
For more information, see Environment Settings.
-
Optionally, add or select existing Labels.
See the Labels field description.
-
Click Create.
If the test plan is not valid (for example, it's missing a required field), an error message is displayed, and the save operation fails. If the test plan is valid, the changes are saved successfully.
37.1 Test plan fields
The following sections describe the test plans you create to run test suites.
37.1.1 FRun configurations field
| Field | Description |
|---|---|
| FRun configurations | FRun is a utility that lets you generate and run multiple test files based on input parameter ranges defined in CSV configuration files. |
37.1.2 Labels field
Labels let you add context to a test suite result, and help in grouping and filtering them. See Add labels for more details. Click + Add to add the labels.
| Field | Description |
|---|---|
| Add Labels | Enter new labels or select existing labels. Click X to remove labels if needed. |
37.2 Edit a test plan
If you select a test plan that you created or if the creator is unknown, the Edit (pencil) icon is available. If another user created the selected test plan (the user's name appears in the Creator column), the Edit icon is disabled. However, you can make a copy of the test plan and edit it.
To edit a test plan:
-
From your project, click the Test Management tab.
-
Optionally, search for an existing test suite by entering a string in the Search field.
-
Optionally, select Show only mine on the top right to see just your test plan.
-
Select a test plan and click the Edit (pencil) icon on the top right of the test plan list.
-
Edit the test plan fields. Optionally, you can use the list on the left to navigate through the options.
For more information on field descriptions, see Test plan fields.
-
Click Save.
If the edited test plan is not valid (for example, if a required field is missing), an error message appears, and the save fails. If the test plan is valid, the changes are saved.
37.2.1 Providing permissions in test plan
The test plan permissions mechanism is similar to project permissions. The owner of each test plan can grant Viewer, Editor, or Owner access to specific users or groups using the Share ![]() icon. The owner can also set a default access level for everyone in the organization.
icon. The owner can also set a default access level for everyone in the organization.
To provide permissions perform the following steps:
- Open your test plan.
-
Click the Share
 icon.
icon.
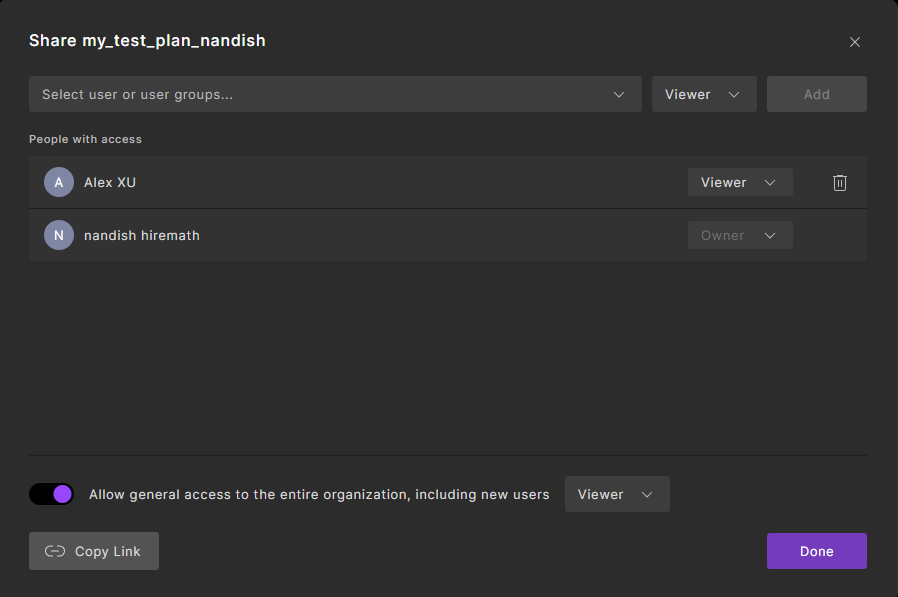
Result: The Share widget is displayed.
-
Here, you can perform the following actions:
a. Select the required users or groups and assign the appropriate permission level to grant access.

b. Toggle the Allow general access button and select the permission level to grant access to the entire organization, including new users.
-
Click Done.
37.3 Delete a test plan
To delete a test plan:
-
From your project, click the Test Management tab.
-
Optionally, search for an existing test plan by entering a string in the Search field.
-
Optionally, select Show only mine on the top right to see just your test plans.
-
Select a test plan and click the Delete (trash can) icon in the top right of the test plan list.
-
Click Delete to confirm.
37.4 Copy a test plan
You can copy an existing test plan, then modify it.
To copy a test plan:
-
From your project, click the Test Management tab.
-
Optionally, search for an existing test plan by entering a string in the Search field.
-
Optionally, select Show only mine on the top right to see just your test plans.
-
Select a test plan and click the Copy icon on the top right of the test plan list.
-
Edit the test plan fields. Optionally, use the list on the left to navigate through the options.
For more information on fields descriptions, see Test plan fields.
-
Click Create.
If the edited test plan is not valid (for example, it's missing a required field), an error message is displayed, and the save operation fails. If the test plan is valid, the changes are saved.
37.4.0.1 Crun optimization
When running multiple executions of the same test, Foretify Manager offers an automatic allocation of these executions into Foretify jobs. Each such job is an execution of a crun command in Foretify, which is run by Dispatcher.
Allocation of such jobs can be done in various ways, depending on the batch size for each crun job. For example, 100 runs can be divided into 5 jobs of 20 runs, or into 10 jobs and 10 runs, etc.
Foretify Manager uses an adaptive algorithm, in order to shorten the total running duration of the whole regression by batching runs into Foretify jobs efficiently. This algorithm relies on historic data, in order to predict the current number of available pods, and maximize computational parallelism, while also cutting costs on load time, using crun. Using this optimization, test suites are expected to have shorter running duration, when running multiple times until their batching converges to the right range for them.
This optimization is enabled when dispatcher.enableOptimizeCrunLimit=true. This is the default case. If optimization is disabled, you can specify the crunLimit property to cap the number of runs per job execution to a smaller value than the one which appears on the “run” entry. See the CRun Limit property in the Test plan fields section.