67. Creating VPlans
You can create a VPlan using a top-down or bottom-up approach. If you already have some test suites and have created a workspace, the bottom-up approach is easier because a metrics model for the test suite is available. You don't have to type in the names of the metric items.
On the other hand, if you have a project requirements document but haven't started executing test suites yet, you can use the top-down approach. With this approach, the VPlan hierarchy can be aligned closely with the requirements document.
To create a new VPlan using a top-down approach:
-
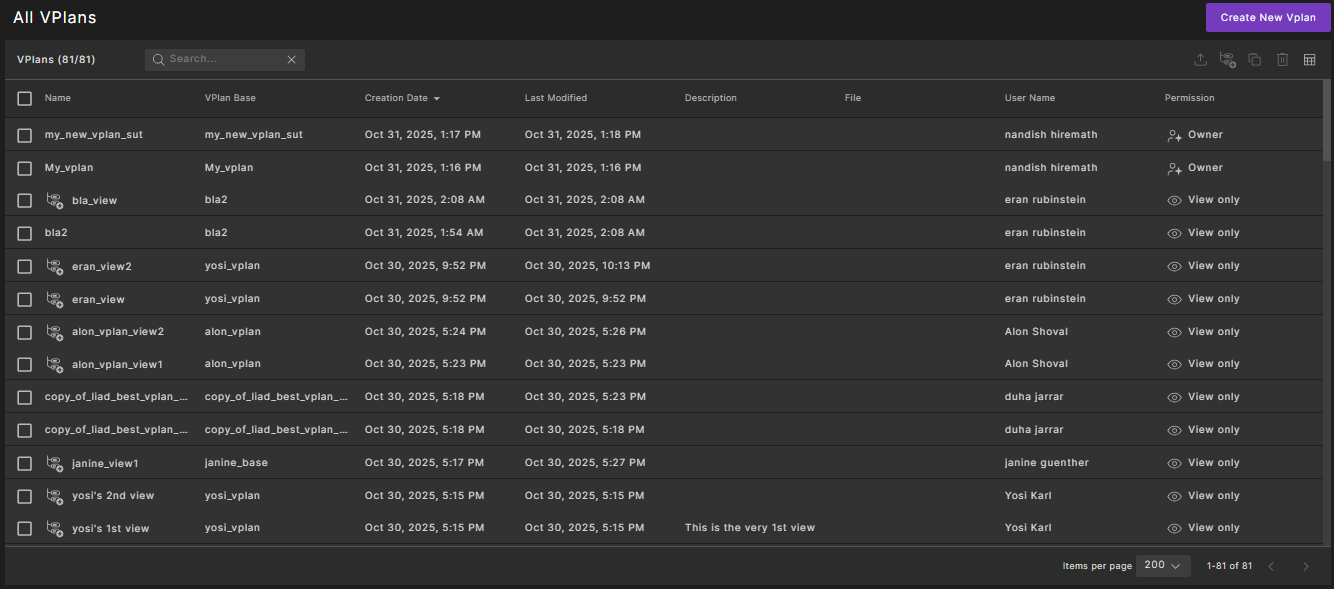
Click the hamburger icon at the top of the window, and then click VPlans.
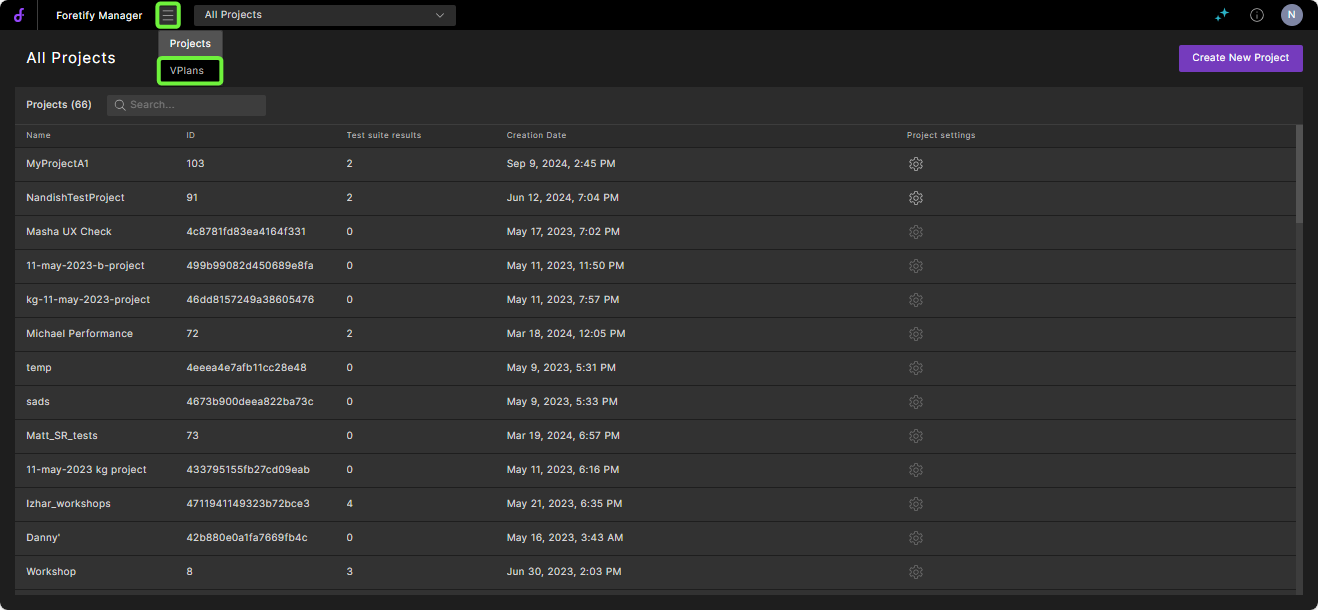
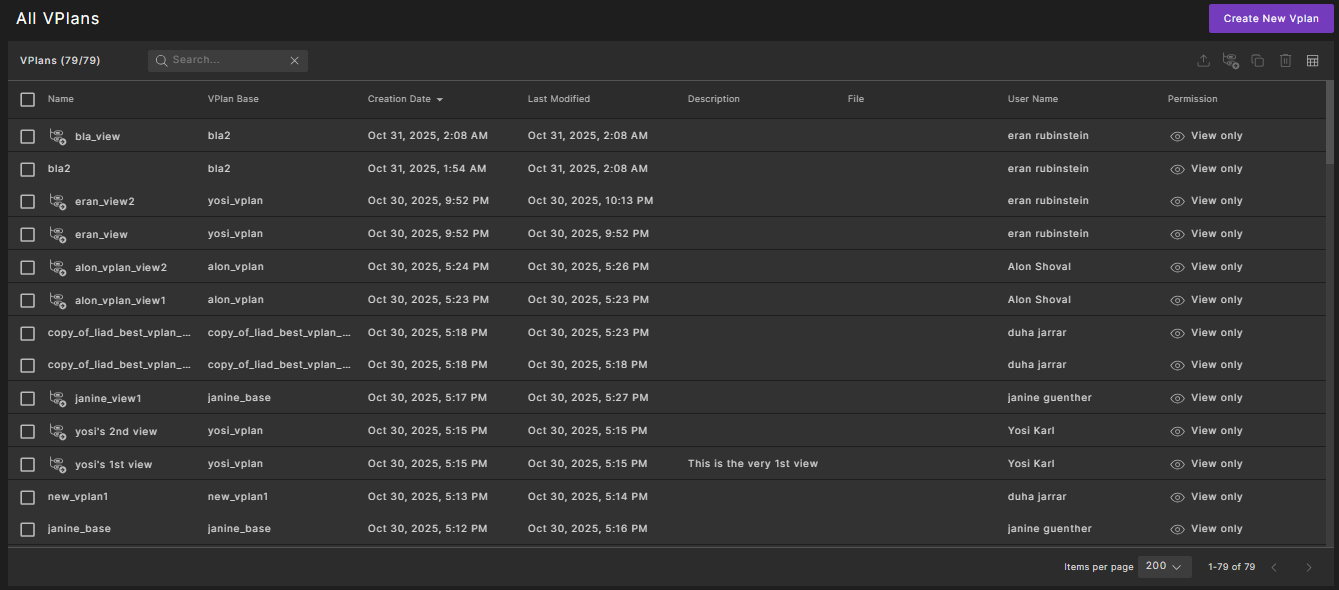
A list of currently available VPlans is displayed.
-
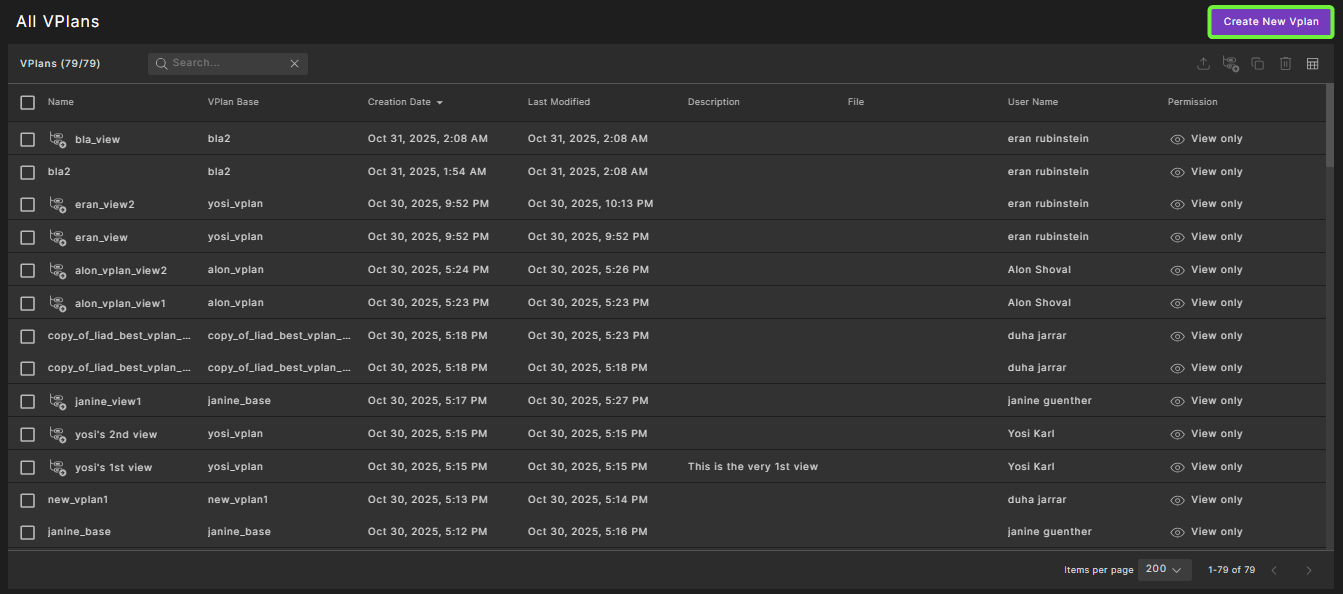
Click Create New VPlan in the top right corner.
The VPlan Editor opens, displaying the VPlan tree with a new top-level section called new_vplan.

No metrics model is present because you didn't open the VPlan Editor from a workspace.
-
To change the name of the VPlan, click the new_vplan name, type in the name you want, and press Return.
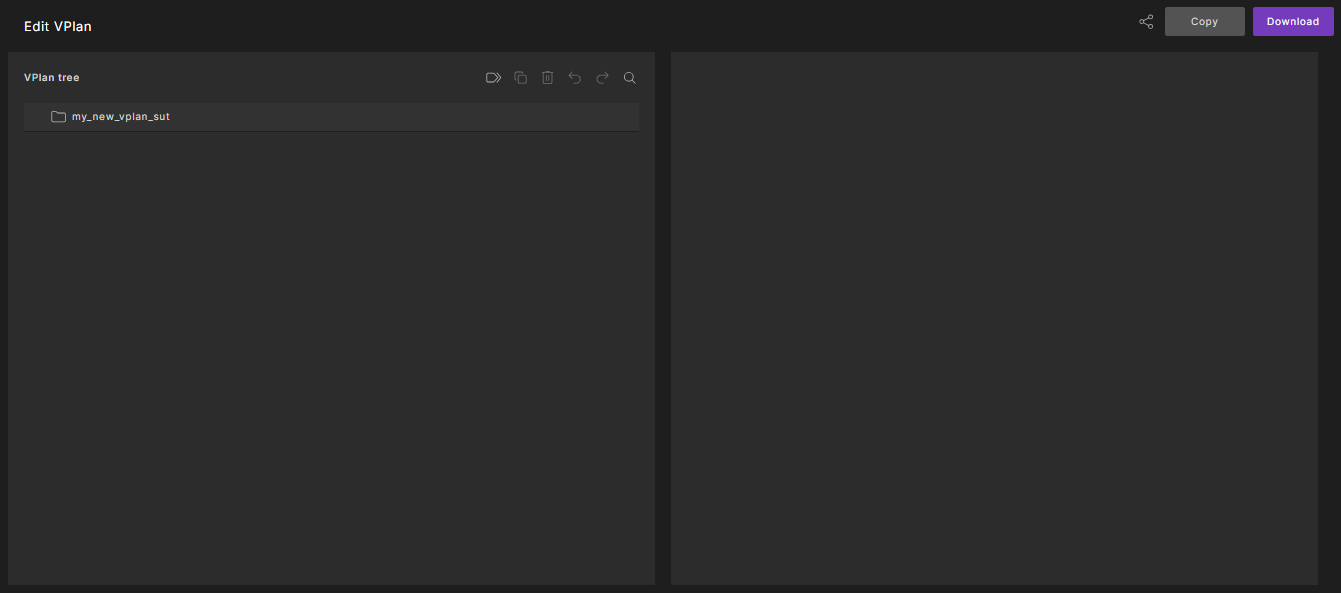
The VPlan is automatically saved with the current name.
-
You can now Edit the VPlan that you created, as required.