78. Creating a Jira issue attribute
To store and display Jira issue links in Foretify Manager, an Admin must create a custom attribute of type Link. This attribute will be referenced by the integration and shown in the Triage view.
To create the custom Jira attribute:
-
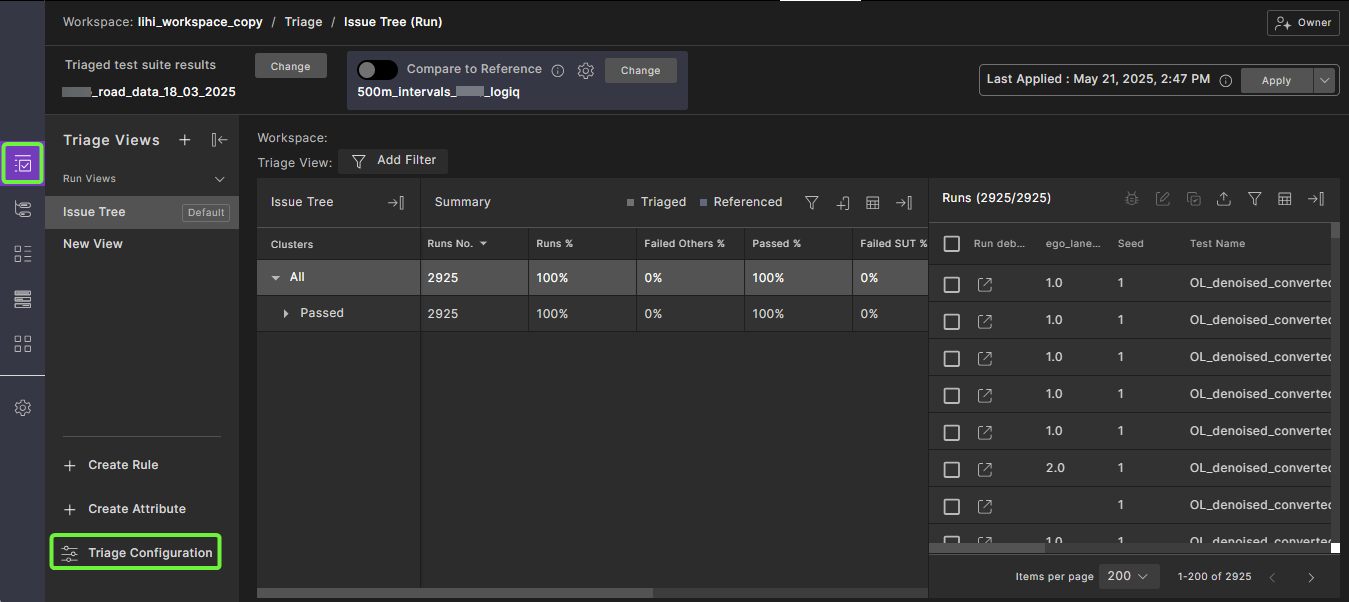
In the Triage view, click Triage Configuration. You must have Owner or Editor level permission to edit triage configurations.
-
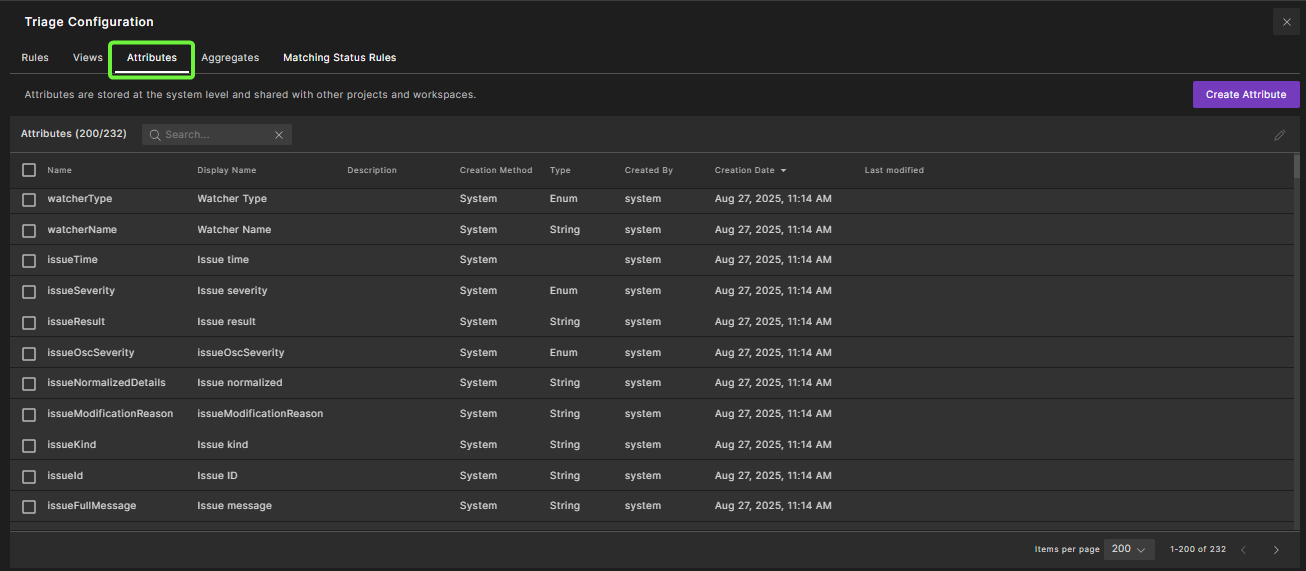
Select the Attributes tab.
-
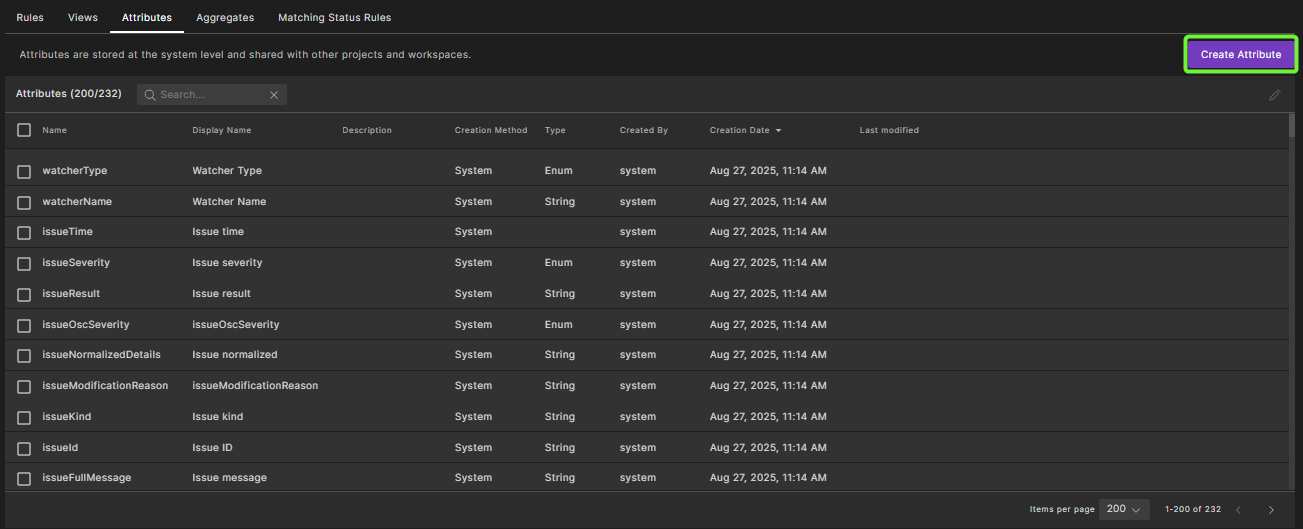
Click Create Attribute.
-
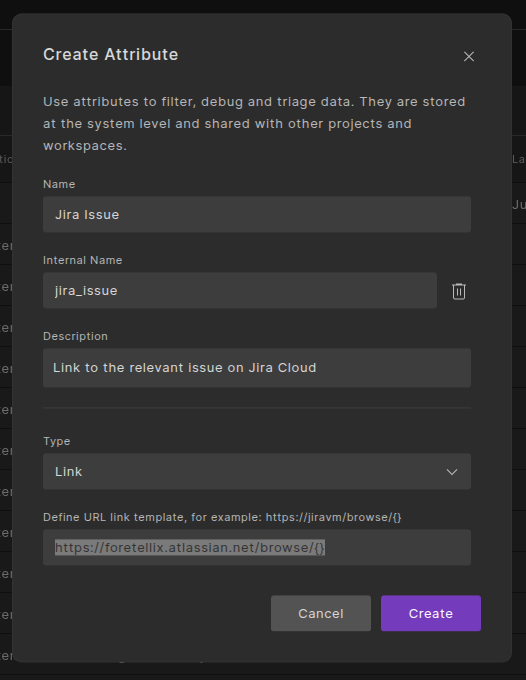
In the Create Attribute dialog, fill in the following details:
- Name: A descriptive name that will appear in the Triage view. The recommended name is "Jira Issue".
- Internal Name: Internal name used in the jira.ticketAttributeName setting in the
application.propertiesfile. To define this name, click + Set Internal Name. Use lowercase letters and underscores, e.g.,jira_issue. - Description: (Optional) Details of an attribute, that are visible when you hover the mouse over the attribute.
- Type: Select Link.
Important
Do not leave the default String. You must select Link
- URL: Your Jira cloud base URL followed by
/browse/{}. For examplehttps://foretellix.atlassian.net/browse/{}
-
Click Create to save the attribute.
Recommendation
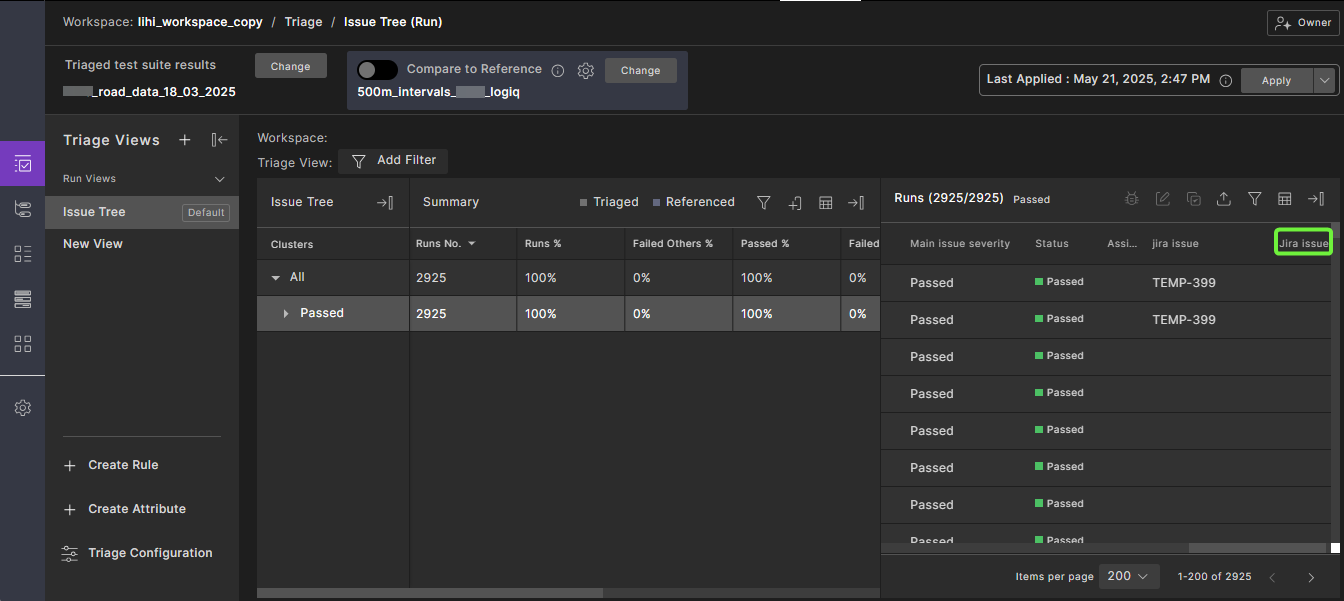
It is recommended to add the Jira Issue attribute as a column in the Runs table in Triage views. This makes it easy to view and access linked Jira issues directly from Foretify Manager.