65. Creating a Jira issue in Foretify Manager
You can create a Jira issue (typically a bug) directly from the Triage view in Foretify Manager.
Note
- The ability to create and track Jira issues is available only after an Admin has integrated Jira in Foretify Manager.
- For Jira issues to appear in the Triage view, an Admin must configure the Triage View.
-
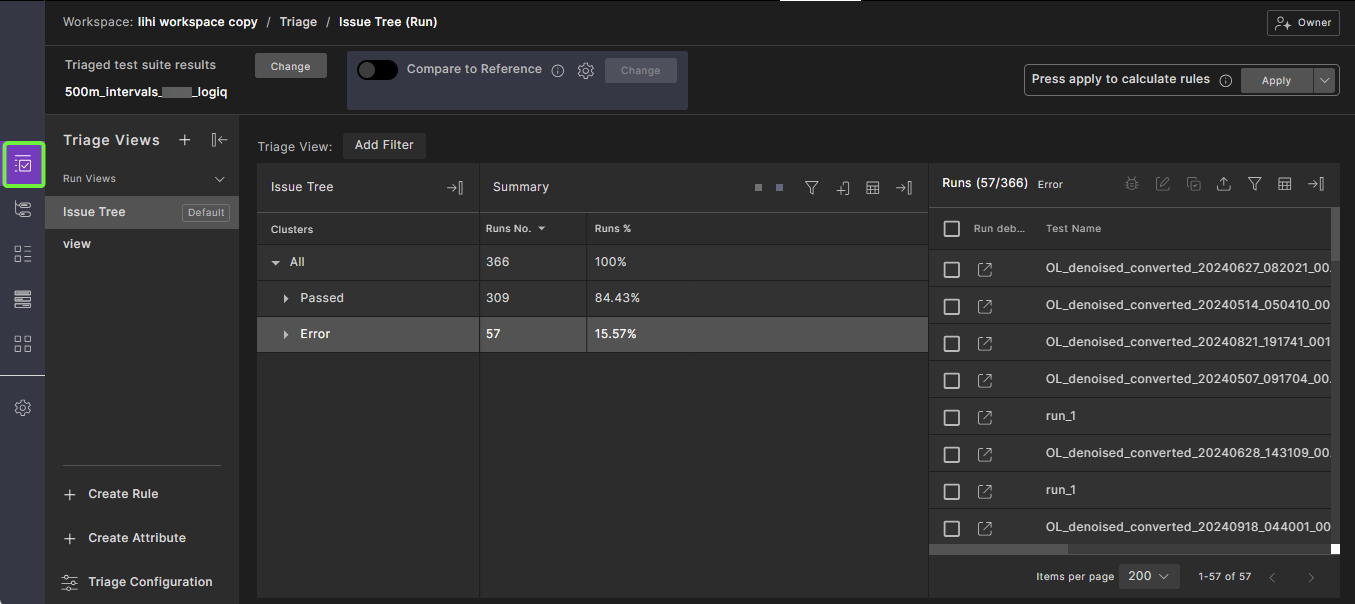
From the Workspace, click the Triage icon.
-
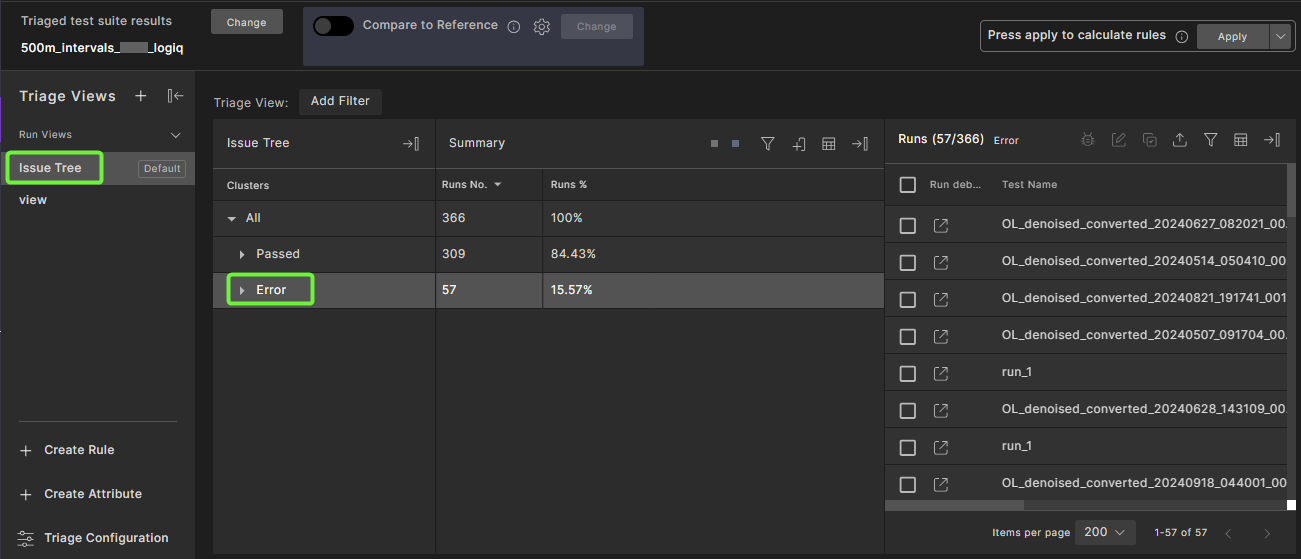
Select the View and Cluster to filter runs.
-
Select the runs, then click the Create Jira issue
 icon in the Runs table.
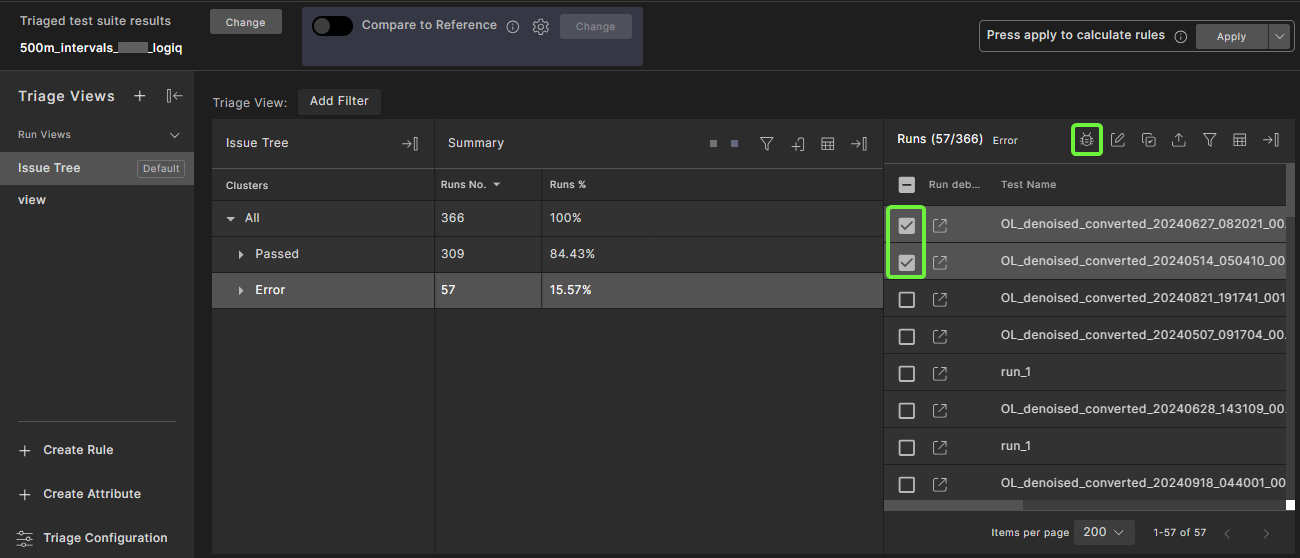
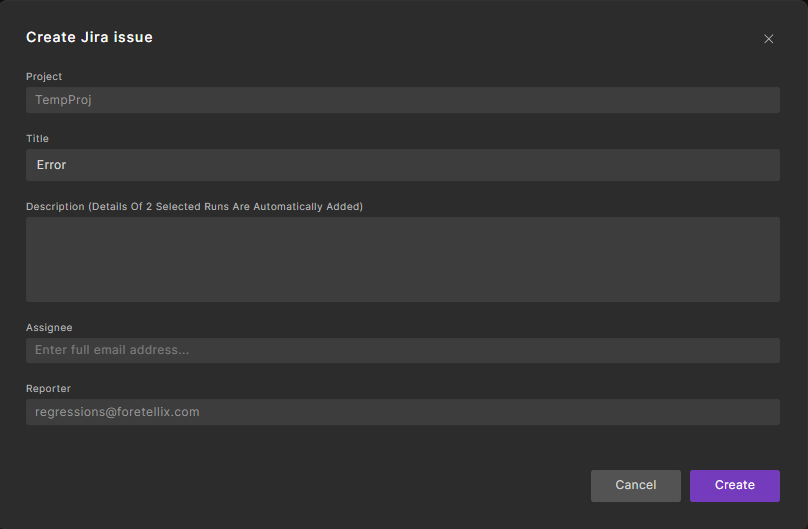
The Create Jira issue dialog is displayed.
-
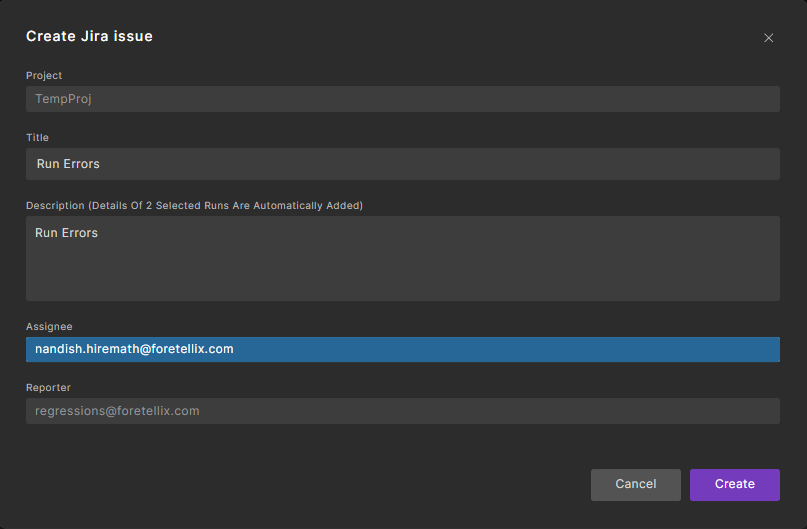
In the Create Jira issue dialog, enter the following:
- Title: A summary of the Jira issue.
- Description: A desription of the problem. Note that the details of the selected runs are automatically appended to this text.
- Assignee: (Optional) The email address of the person assigned to the issue.
-
Click Create to create the Jira issue.
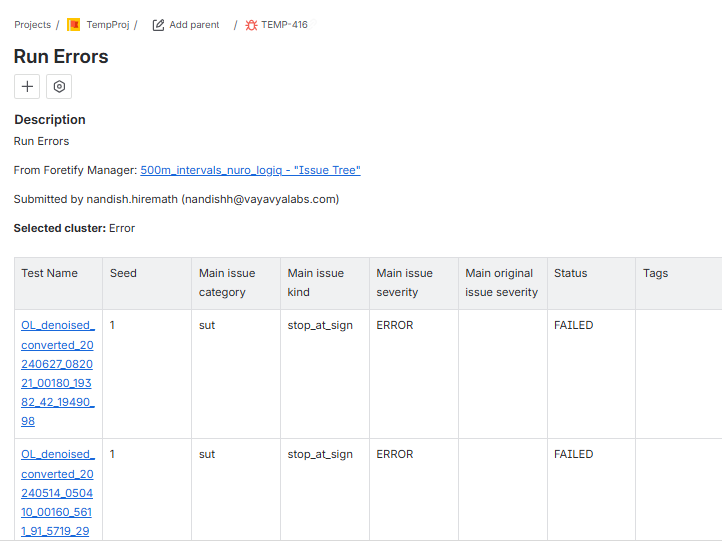
When the Jira issue is created, the Description field automatically includes a formatted table with details from the selected runs.
- Each Test Name links to the Visual Debugger in Foretify Manager.
- Other columns reflect the data taken from the Triage View runs at the time of creation.
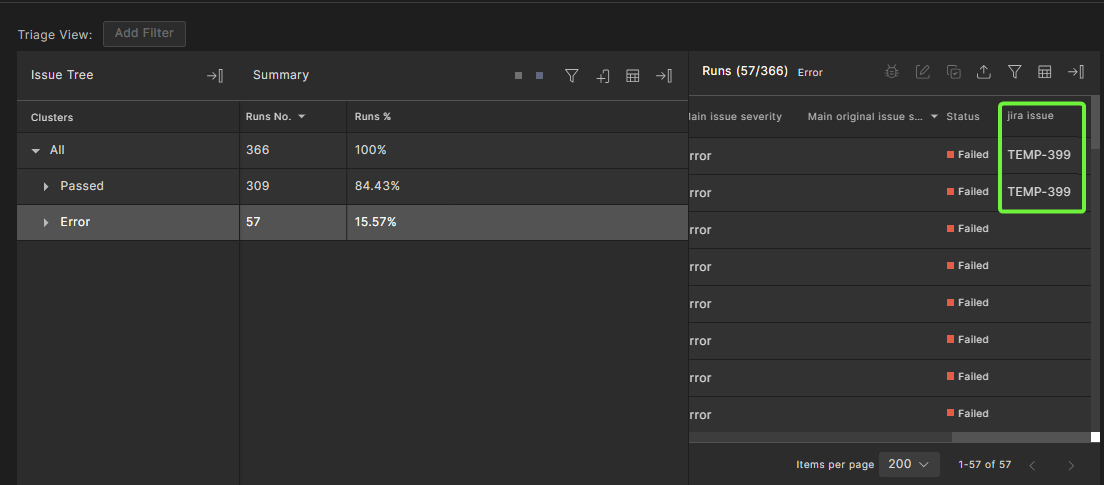
65.1 Navigating to an existing Jira issue in Foretify Manager
After a Jira issue is created, it is automatically linked to the runs selected during its creation. The Jira issue ID (e.g., TEMP-289) appears in the column corresponding to the configured attribute (in this example, jira issue).
Clicking the issue ID opens the corresponding Jira issue in your browser.