40. Access test suite results
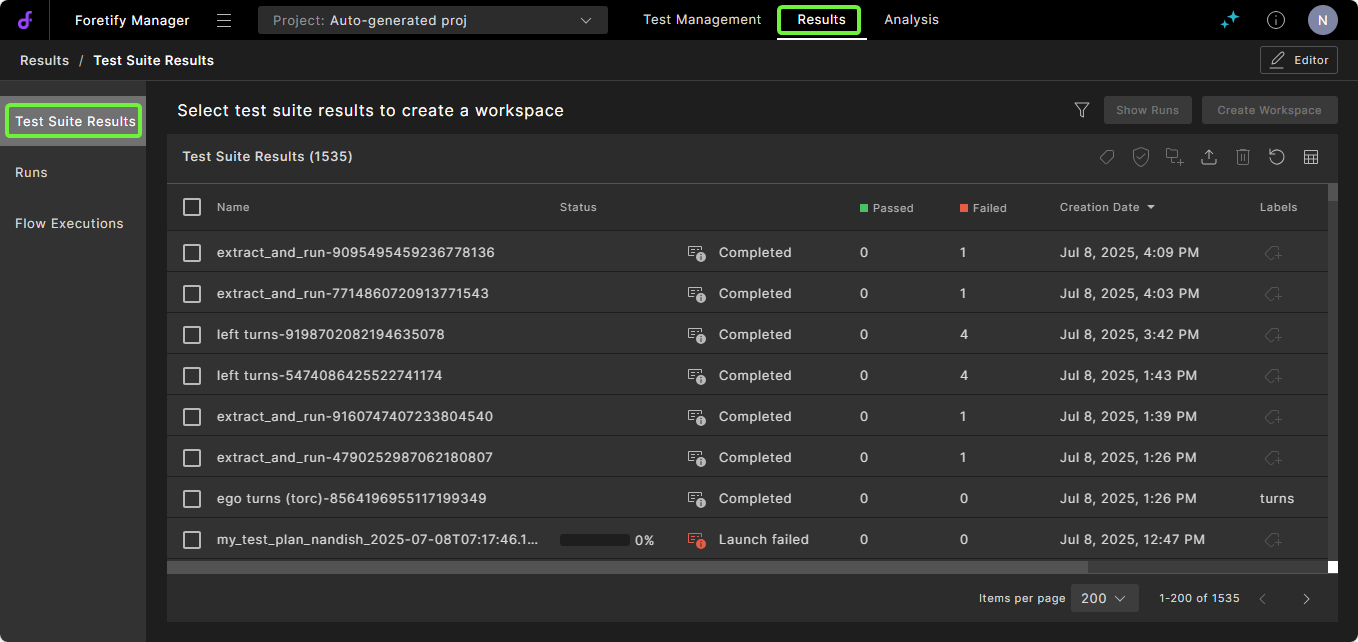
When you log into Foretify Manager and open a project, the accessible test suite executions display in the Results > Test Suite Results tab.
To access test suite results:
- Open the Chrome browser.
-
In the URL field, type in the Foretify Manager hostname and port in this format: <ip-address>:<port>. For example:
165.57.41.193:8080 -
Log into Foretify Manager with your user credentials.
-
To select a project to work in:
- If you're on the Select a Project page, click a project.
- If you're in a project, click the Projects dropdown list and select a project.
-
From the project, click the Results > Test Suite Results tab to access your test suites.
40.1 Change what displays in the Test Suite Results tab
You can modify the test suites or test suite attributes displayed in the Test Suite Results tab by:
-
Changing the rows or columns displayed in the table. See Modify table display.
-
Creating or modifying filters to selectively view the available test suites. See Create filters.
40.2 View test suite launch status
To see the status of a test suite launch:
In the Test Suite Results tab, click the Column Selection icon in the table header (the first icon from the right) and make sure the Status column is selected.
The Status column has several components:
| Column | Description |
|---|---|
| Name | Displays the test suite name. |
| Status | Displays the runs not completed (black), the runs completed successfully (green), and the runs that failed (red). |
| Percentage | Displays the percentage of the test suite that has completed. |
| Launch Info / Failure Details icon | The icon is "Launch Info" unless there is a failure, in which case it is "Failure Details." Displays the test suite configuration that was used to launch the test suite. It does not show any later updates to the configuration. If the test suite has failed, the icon displays a second tab, Failure Details, which shows details of the failure and lets you download the log and other failure details. |
| Status text | Displays the status of the launch, one of: Launching, Running, Stopping, Stopped, Completed, or Launch failed. If the test suite is launching, you can click the Stop Test Suite Launch icon to stop the launch. If the test suite is running, you can click on the Stop icon to stop the test suite. |
40.3 Add labels
Labels let you add context to test suites, and help in grouping and filtering them.
When uploaded, a test suite result is given a name and an auto-generated ID. In many cases, these are not sufficient to efficiently filter and group large amounts of test suite results. You can apply labels to test suite results and then you can use the labels to filter results.
Note
You can also apply labels when you upload test suite results using upload_runs with the --labels option. See Upload a test suite. Enter upload_runs --help for the syntax.
To add a label to test suite results:
-
On the Test Suite Results tab, select a test suite and click the Add Labels icon above the list.
Notes
- If the Labels column is displayed, you can instead click the Add Labels icon that displays in the Labels column for the test suite. See how to modify the table display to show the Labels column.
- You must be an editor for a project to add labels to its test suites. If you do not have editor permissions for the project, the Change Labels icon and the Add Labels icon do not appear.
-
Enter the name of a label and enter return or select an existing label from the list. Add as many labels as you want and then click Apply.
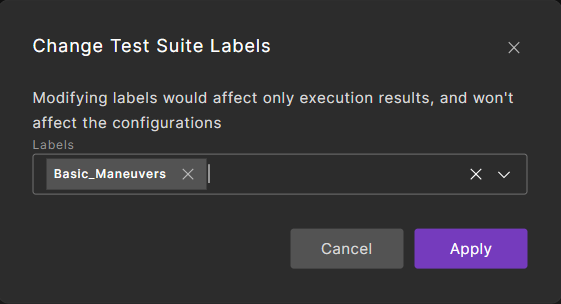
The label is applied to the test suite.

Once you apply labels to the test suites, you can use them to filter your test suites. For more information, see Create filters.