7. Import Clip
Importing ClipGT files is part of the first steps in the Synthetic Data Generation (SDG) flow. You can import a single ClipGT file or a batch of ClipGT files.
7.1 Import a single ClipGT file
-
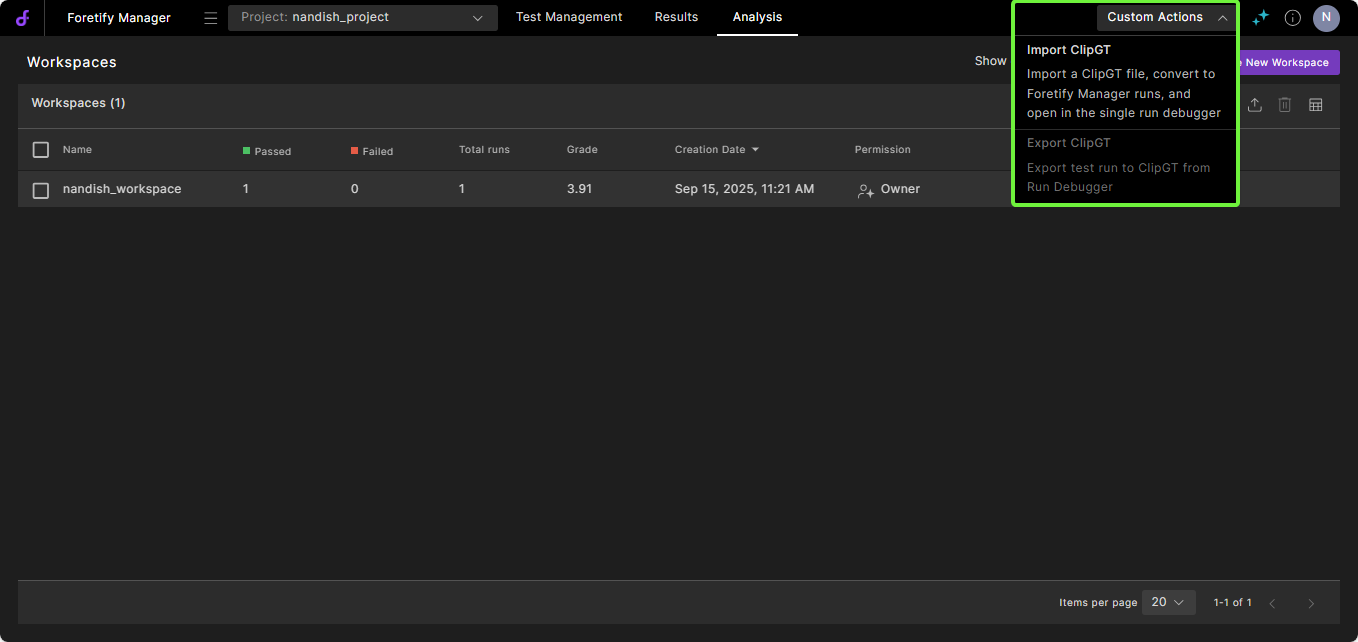
In Foretify Manager, select the target Project, click Custom Action and select Import Single ClipGT.
-
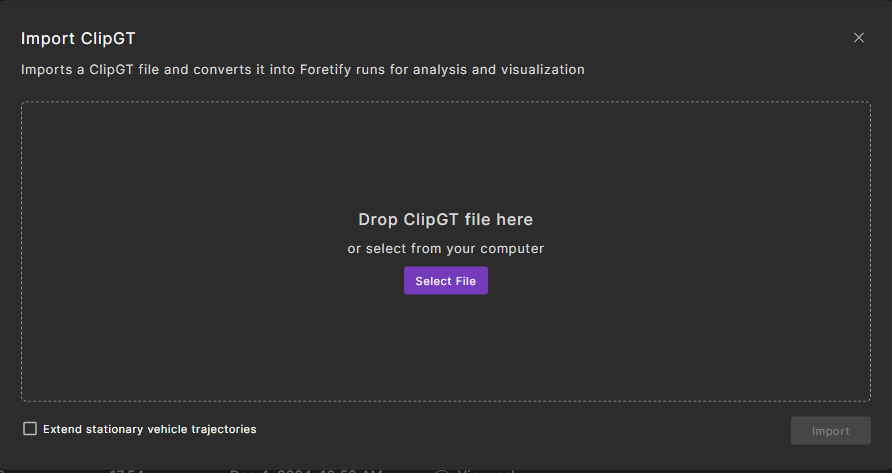
In the Import ClipGT dialog, do one of the following:
- Click Select File and select the ClipGT file.
- Drag and drop the ClipGT file.
-
Click Import.
-
When completed, click Open Results
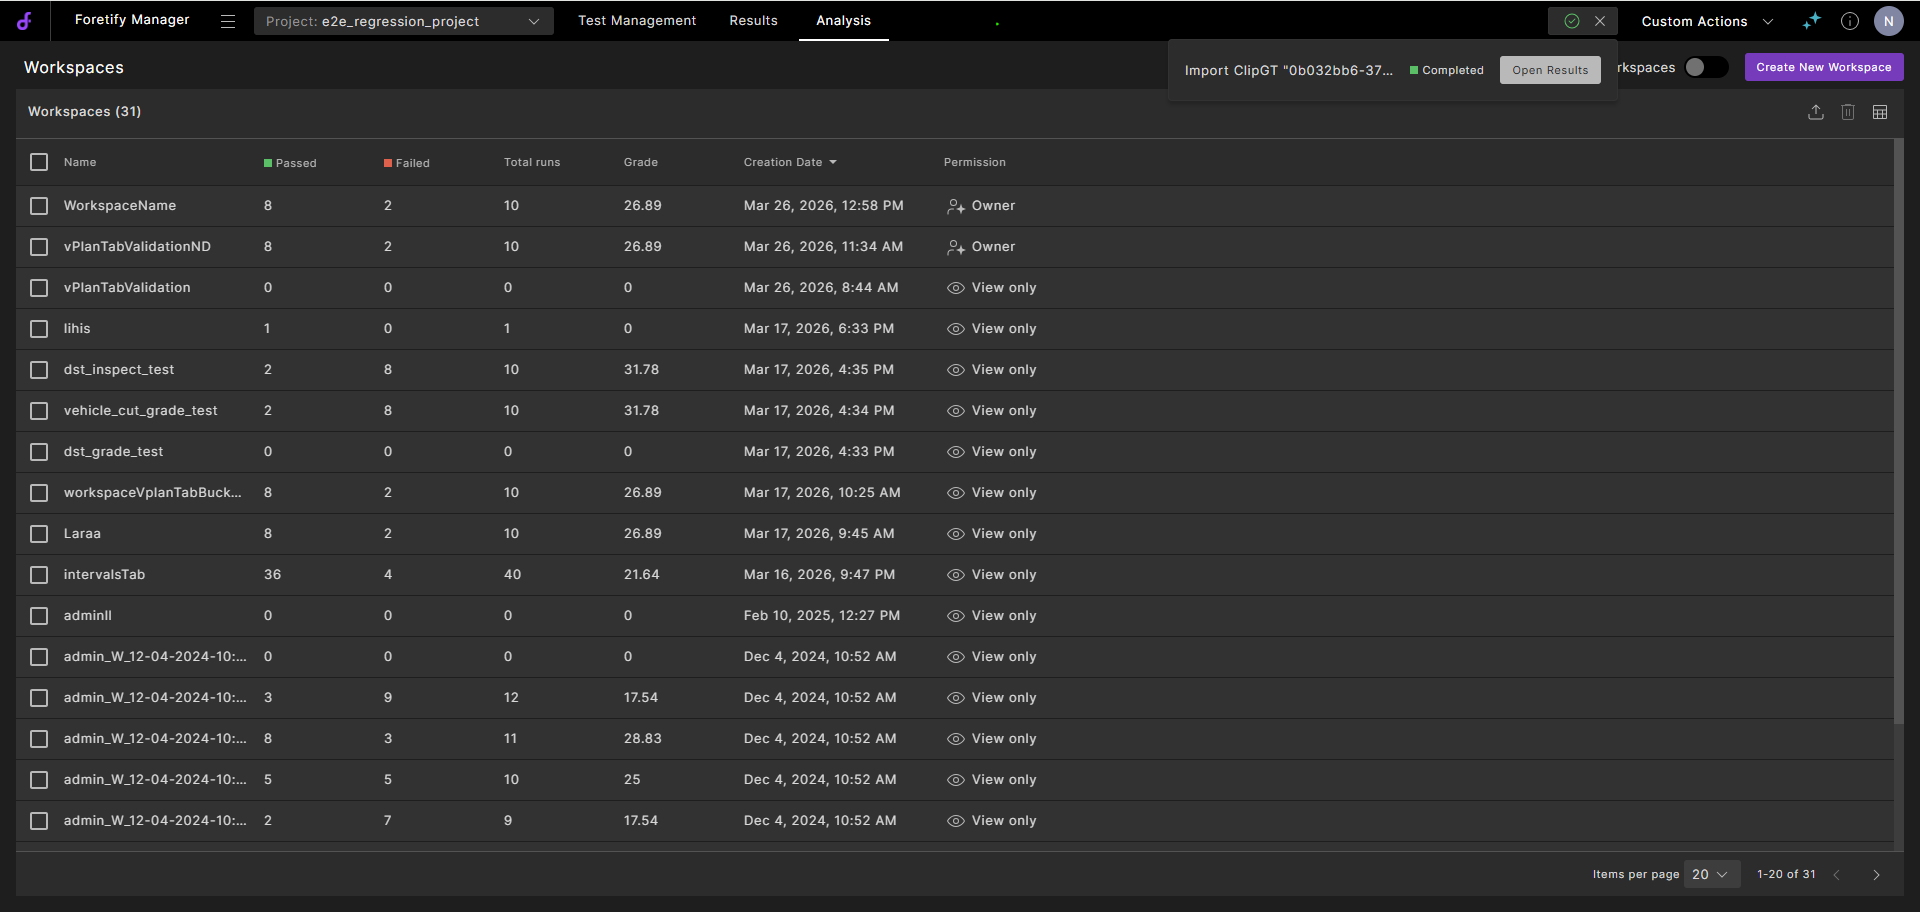
The run is displayed.
-
Select the run to view and proceed to Evaluate the clips.
7.2 Import a batch of ClipGT files
-
In Foretify Manager, select the target Project, click Custom Action and select Import Batch ClipGT.
-
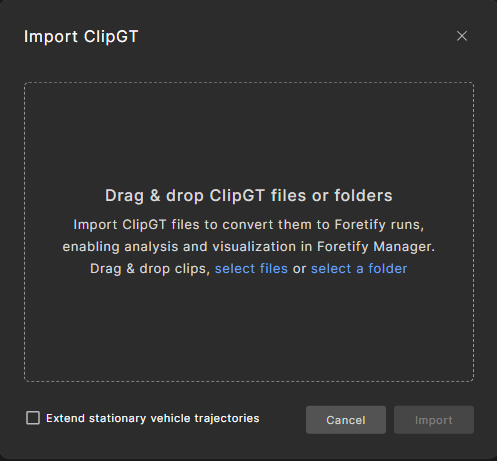
In the Import ClipGT dialog, do one of the following:
- Click select file and select the ClipGT files.
- Click select a folder that contains the ClipGT clips.
- Drag and drop the ClipGT files.
-
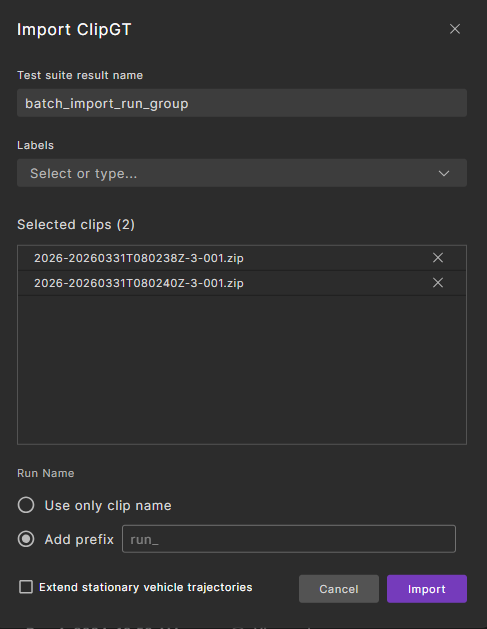
In the Import ClipGT dialog:
-
Enter a new label or select from the existing labels.
-
By default, Use only clip name is selected. To add a prefix, select Add prefix and enter a meaningful prefix to identify the batch.
-
Select Extend stationary vehicle trajectories to ensure more realistic and complete scenarios. This option automatically extends detected stationary vehicles (primarily parked cars) across the full duration of the clip.
-
-
Click Import.
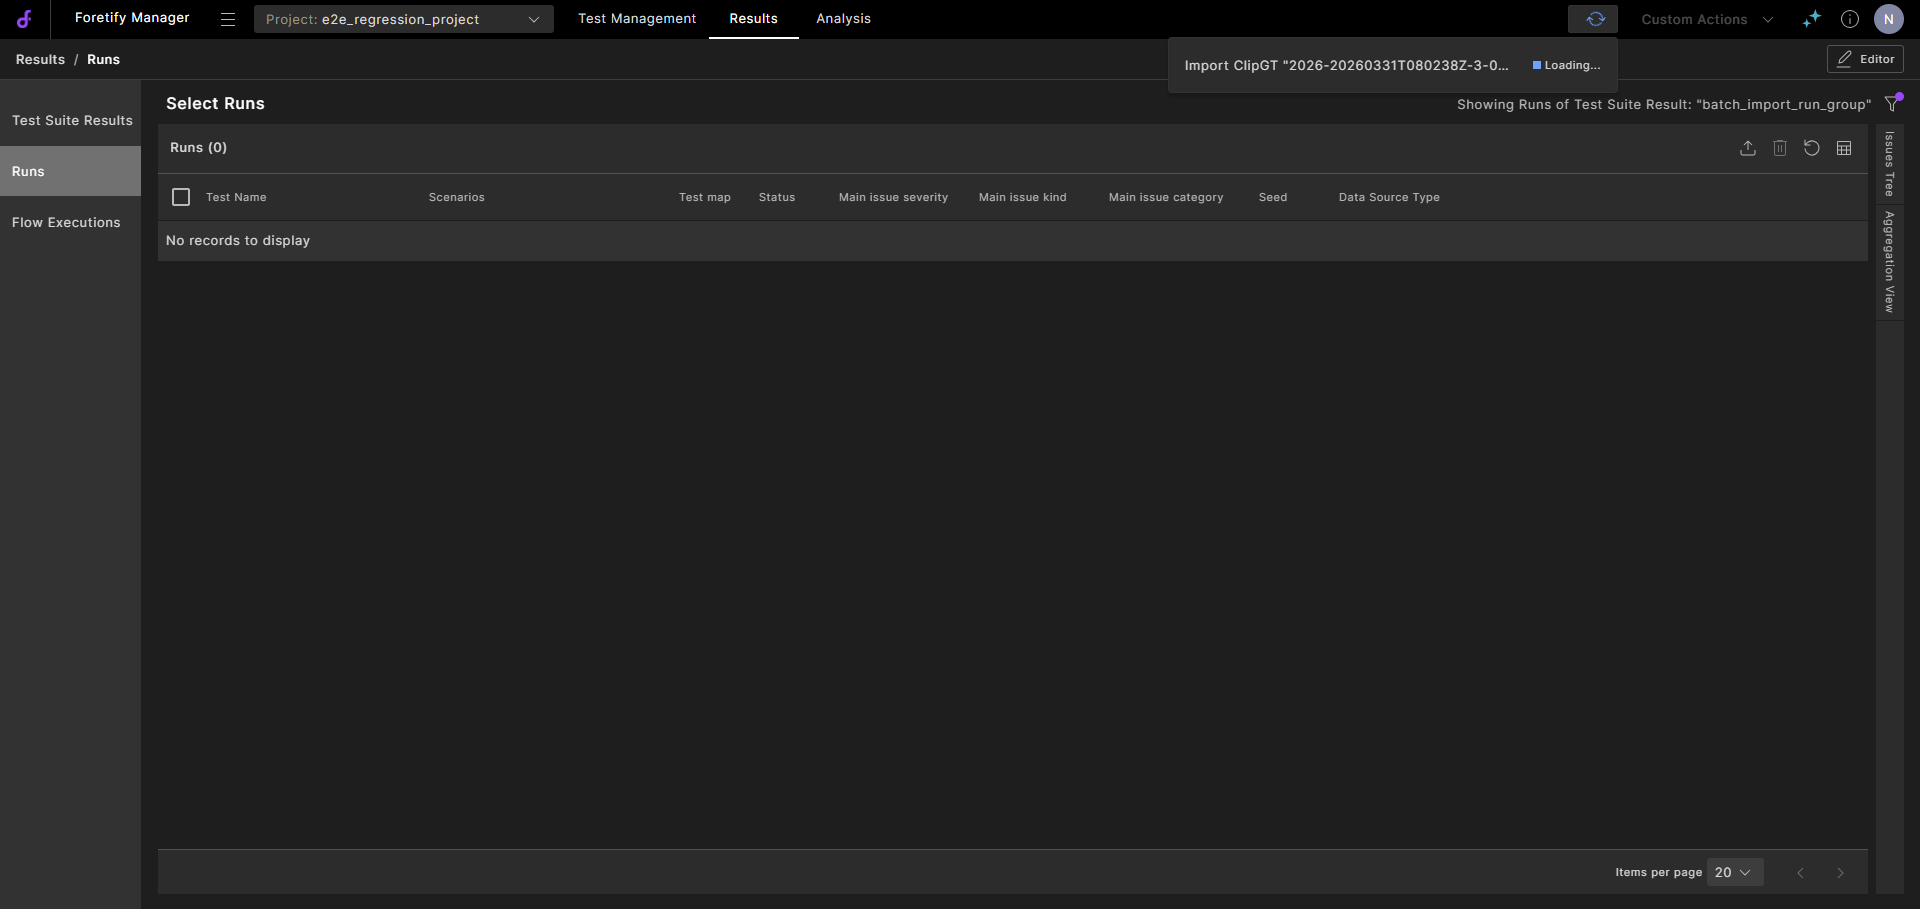
Foretify Manager uploads the files and displays the progress at the top of the window.
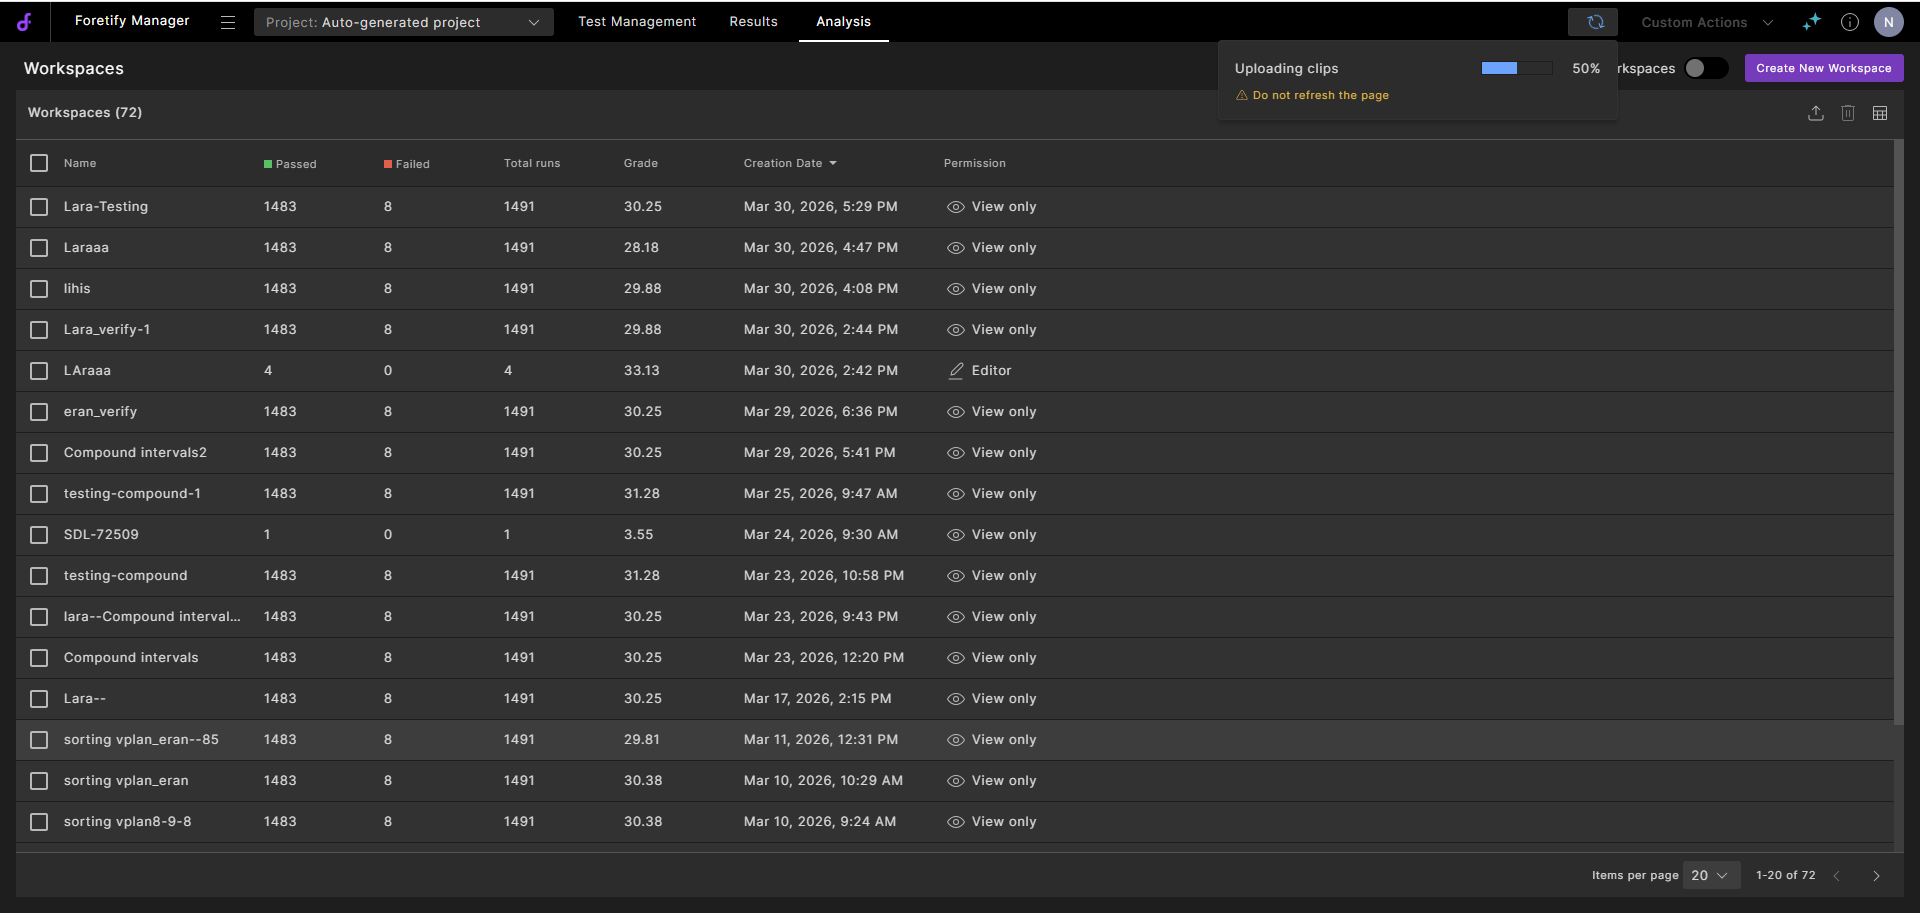
Foretify Manager converts the ClipGT files to a Foretellix Object List, applies denoise, and ingests the result. The processing progress is displayed at the top of the window.
-
When the processing completes, click the Go to Flow Executions icon.
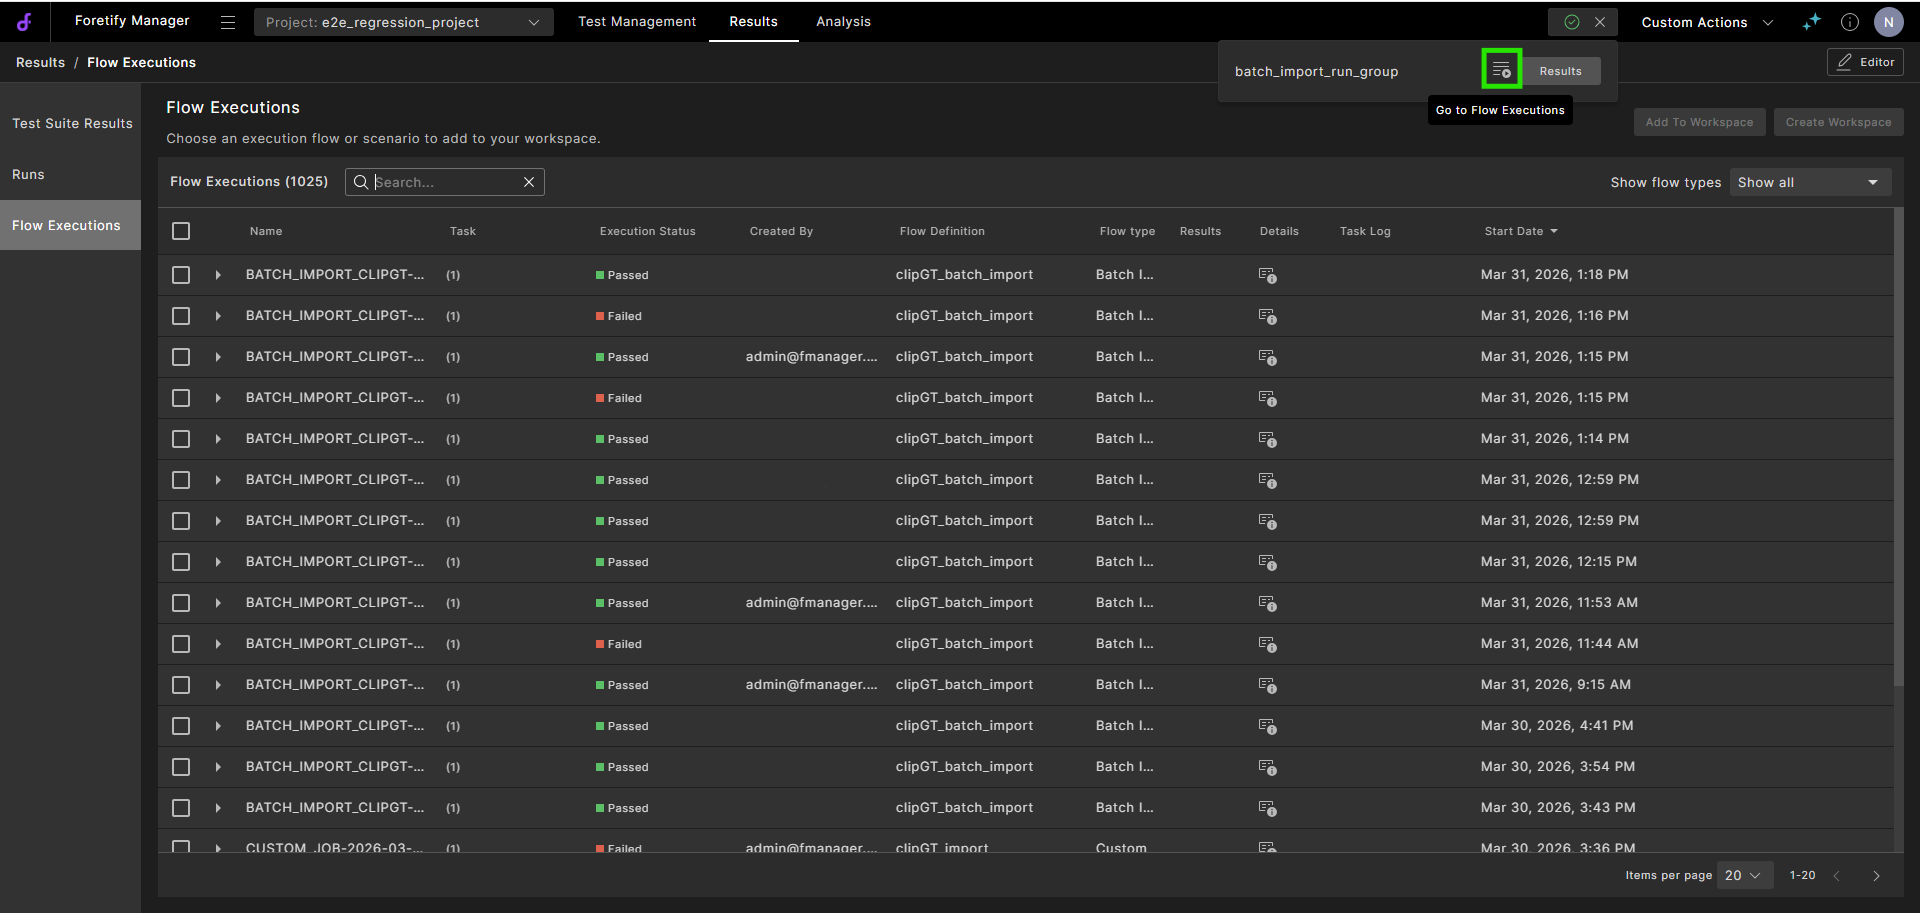
For each Flow Execution, the following actions are available:
-
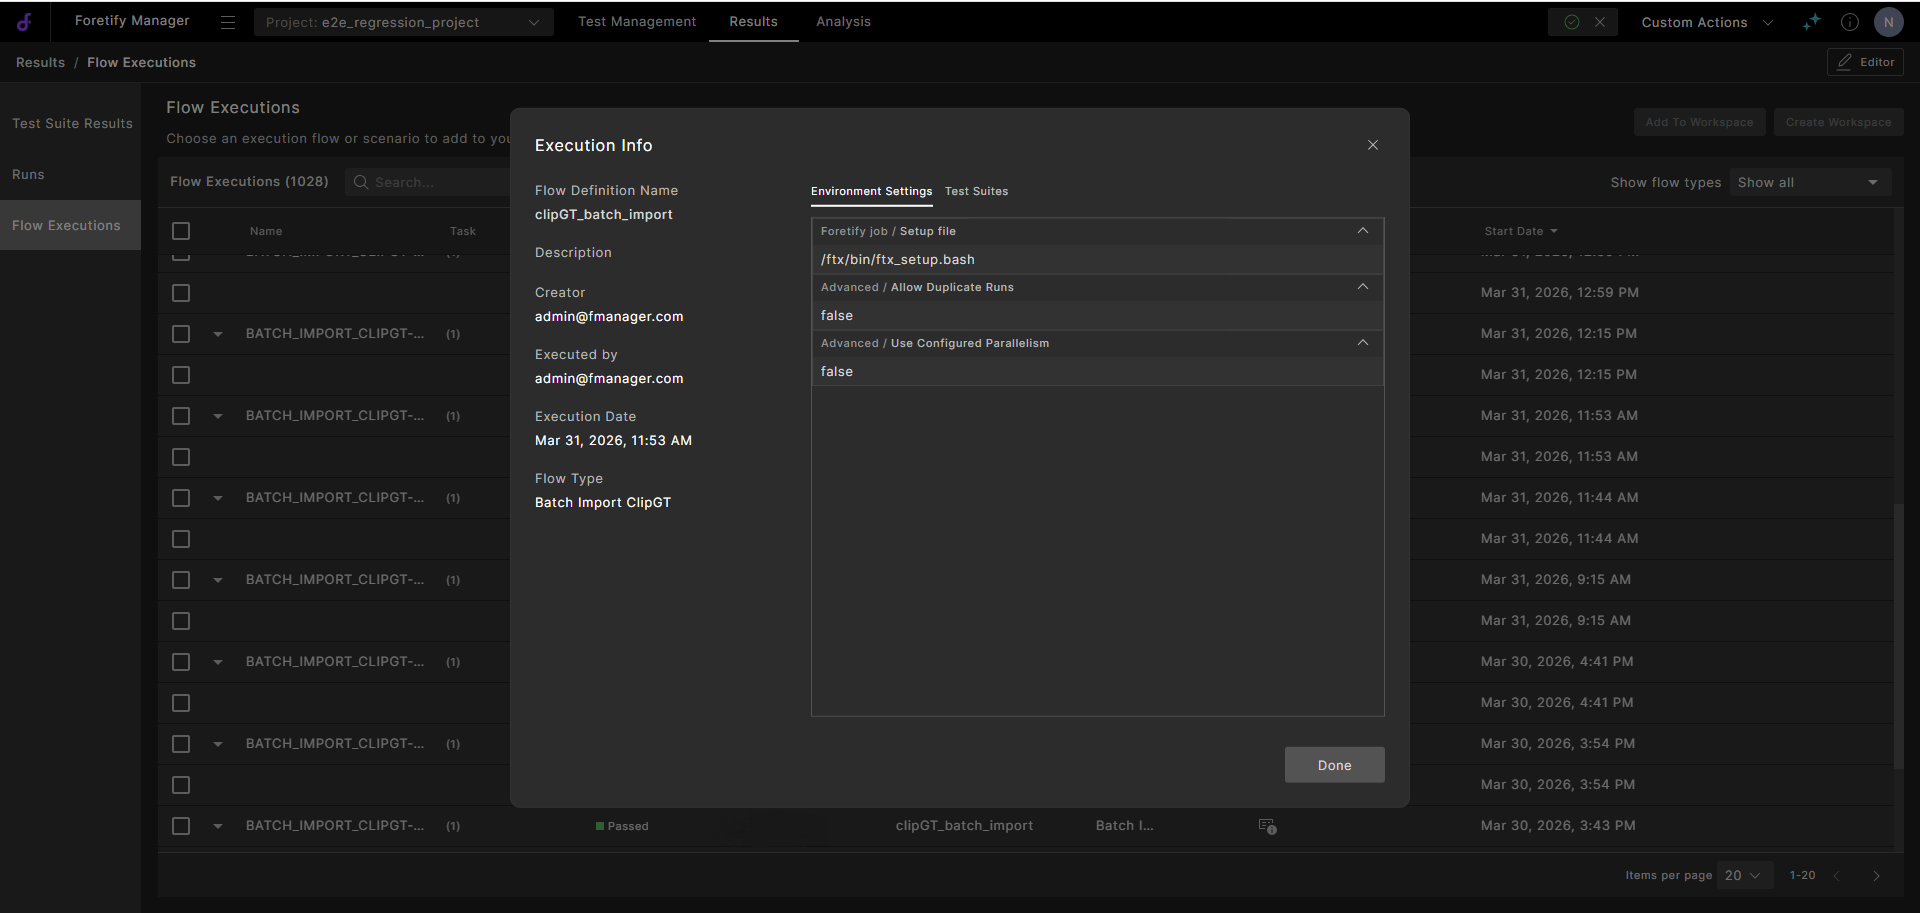
Click the Details icon of a run.
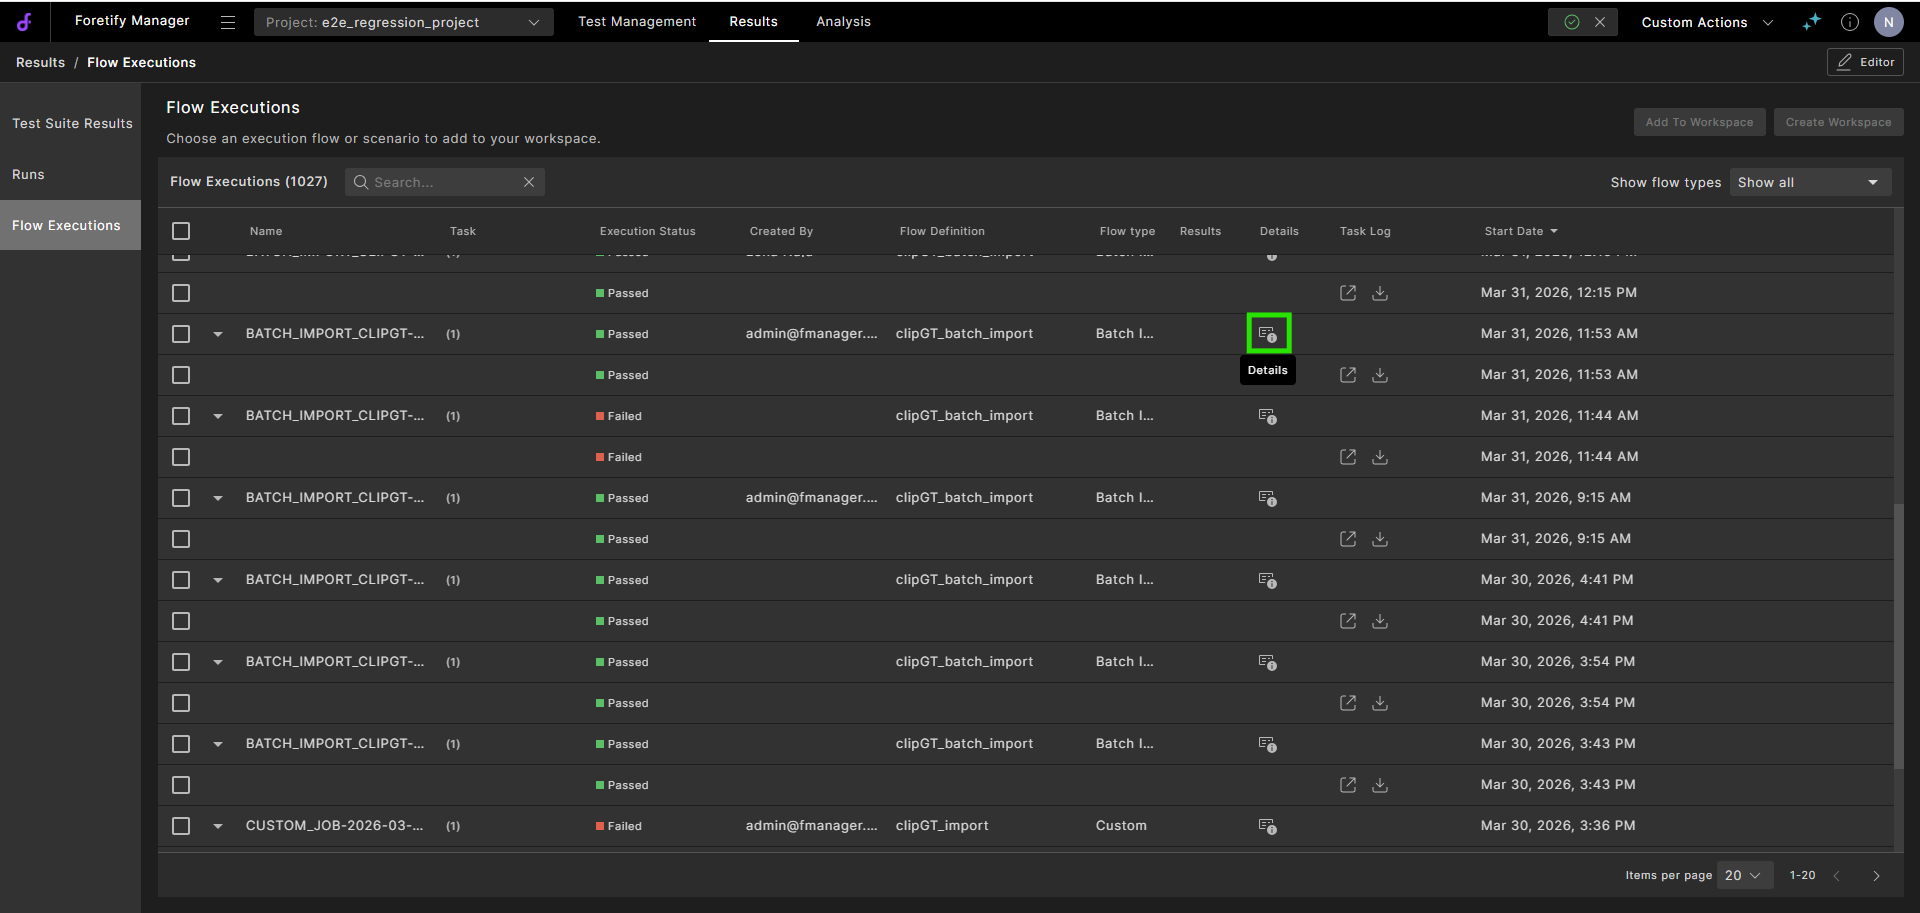
The flow definition details are displayed:
-
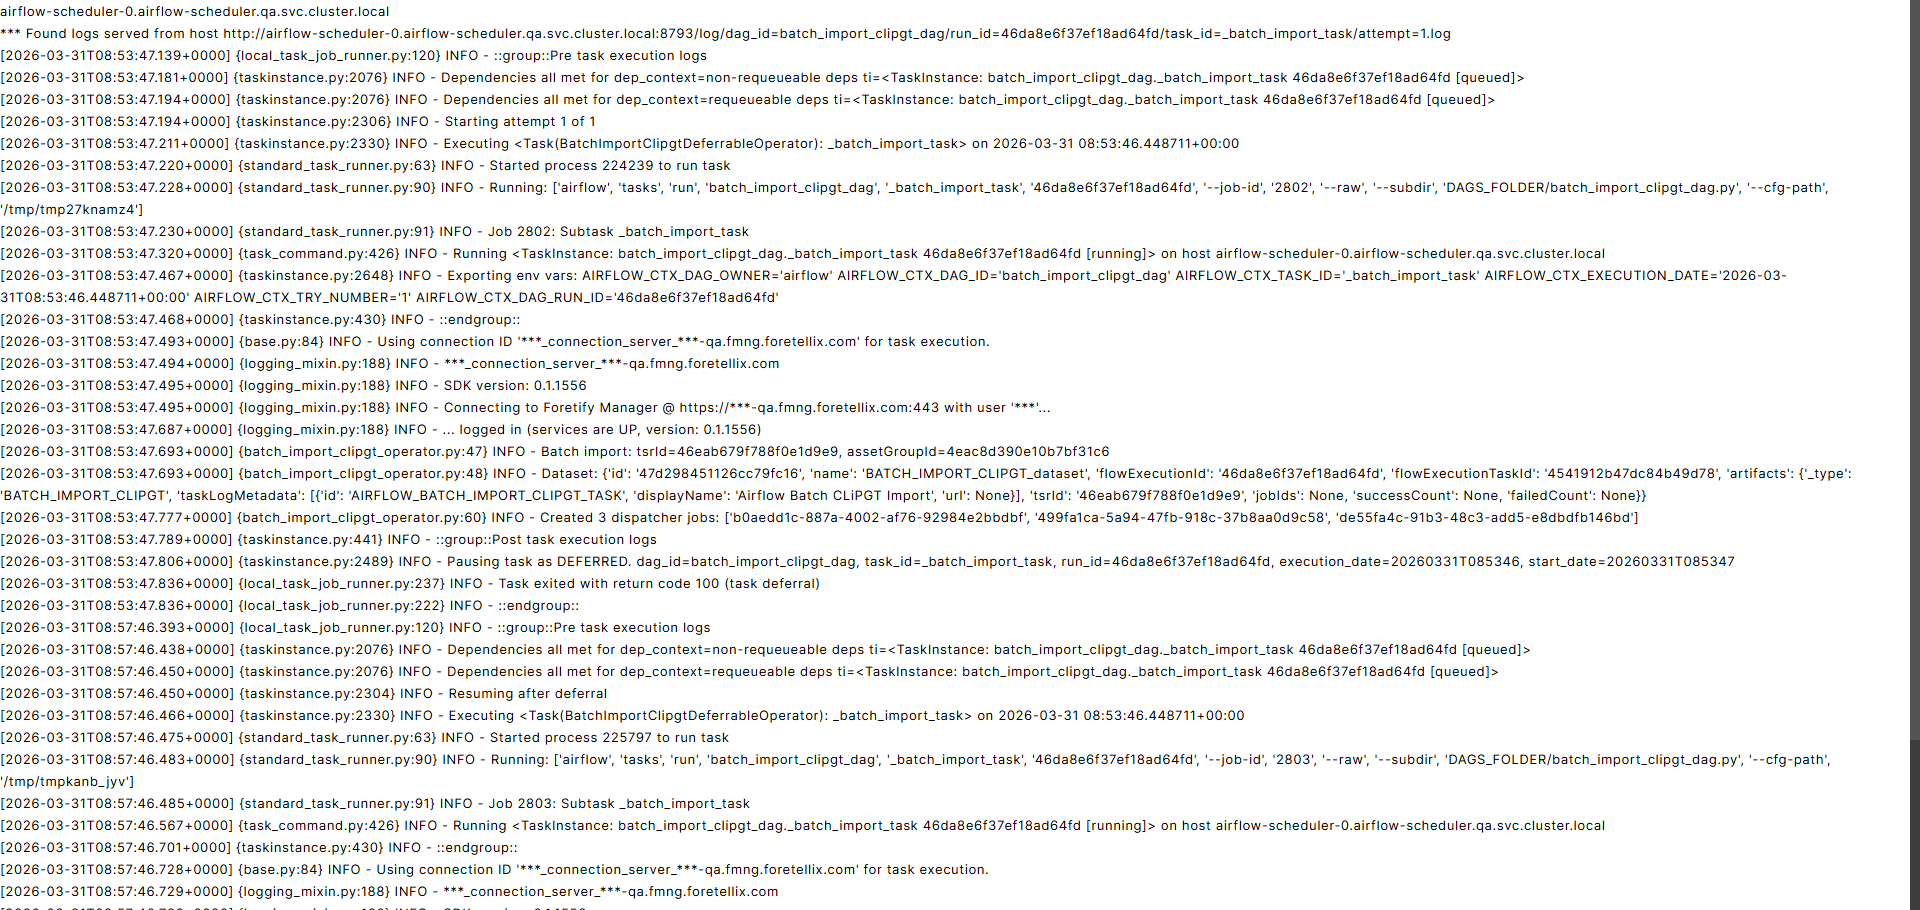
Click the Open task log icon.
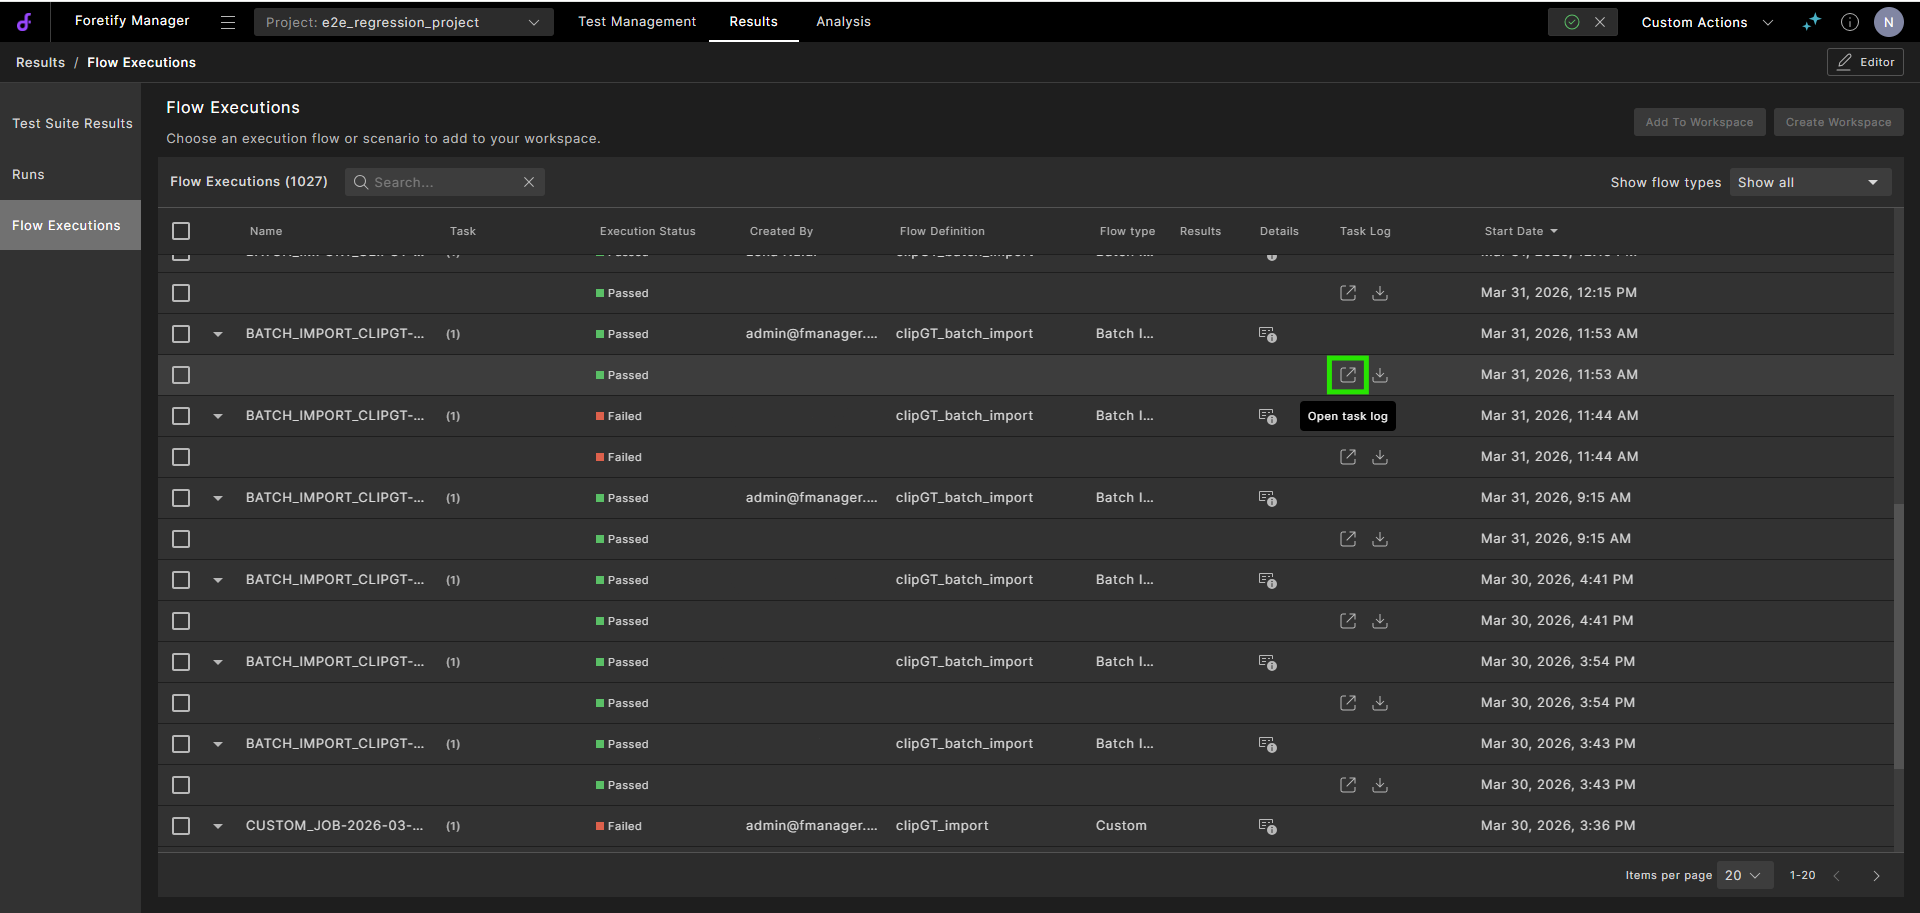
The task log opens in another tab:
-
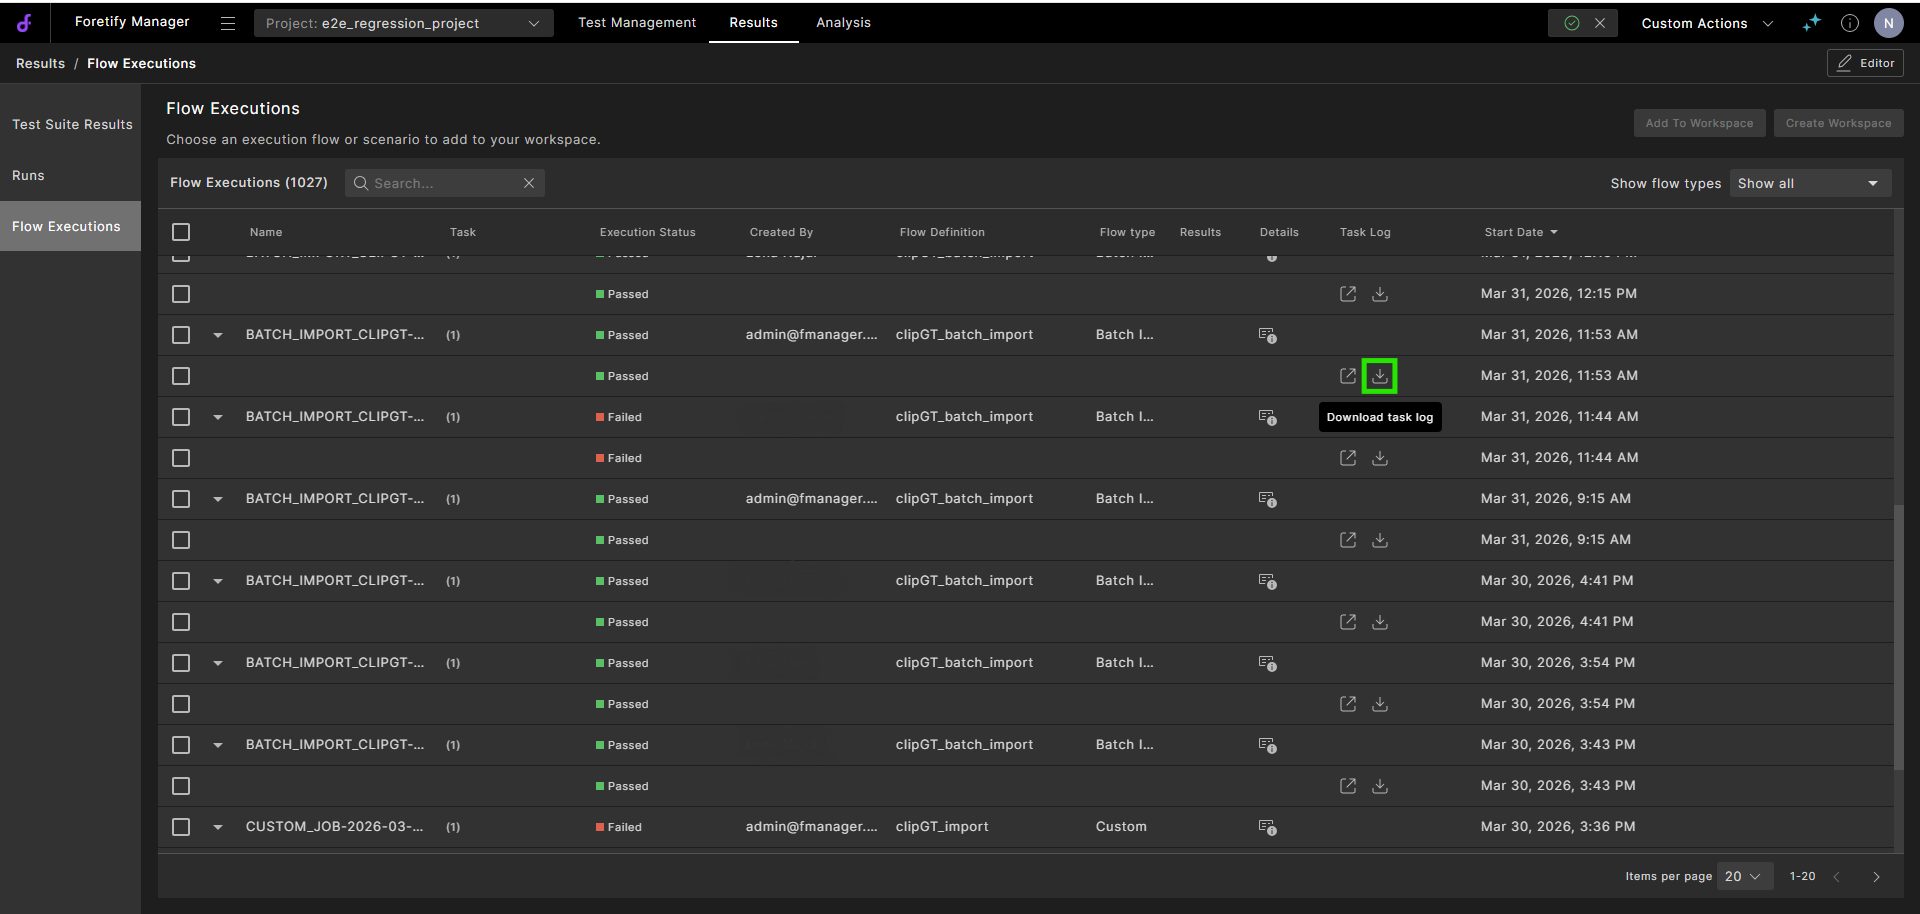
Click the Download task log icon to save the task log locally.
-
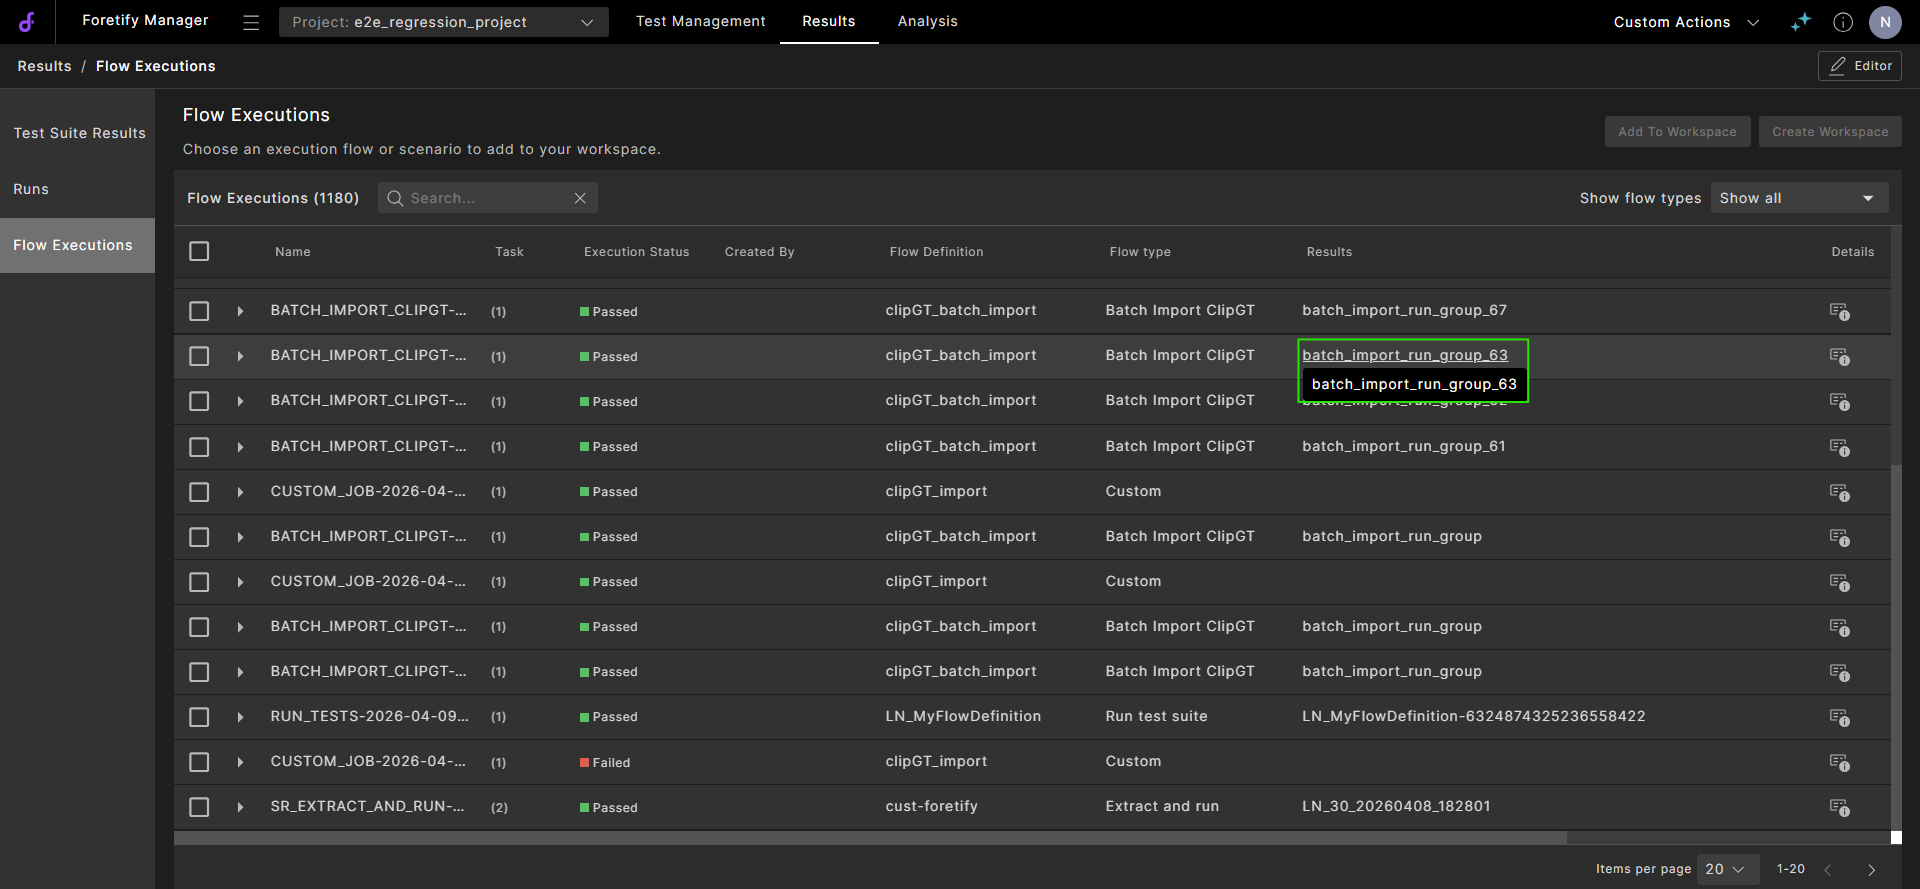
Under the Results column, the name of the relevant TSR is displayed. Click it to navigate to the corresponding runs filtered by that TSR.
-
-
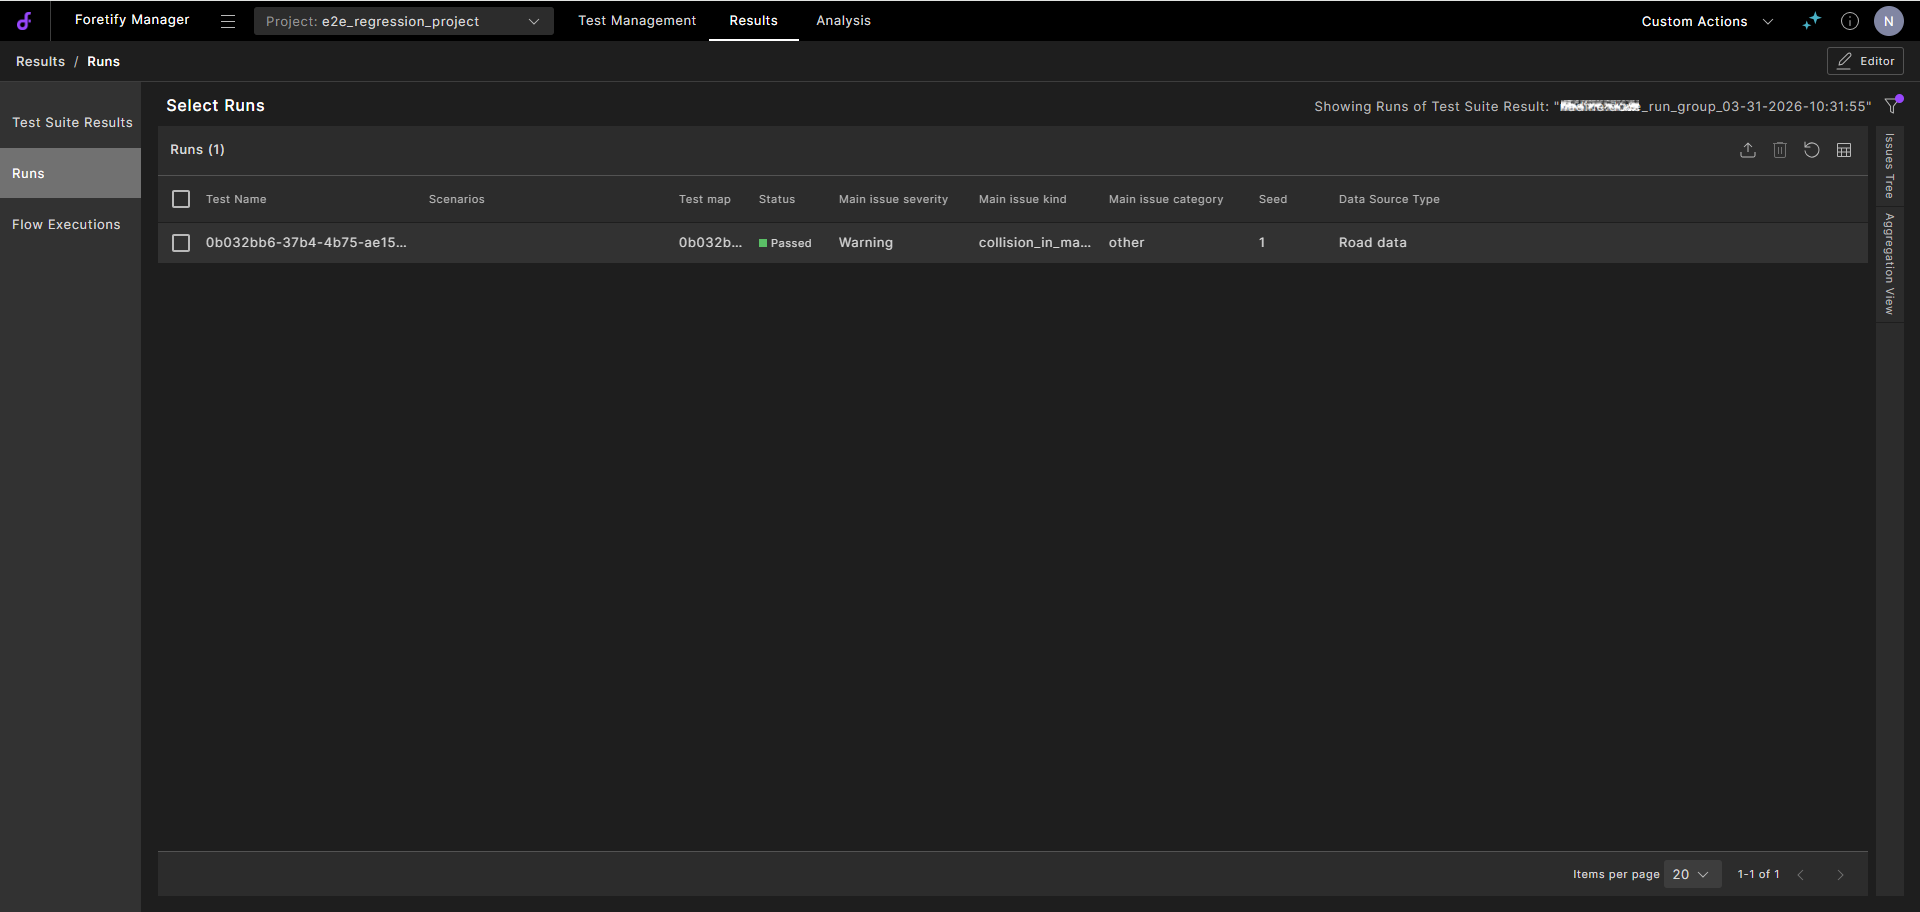
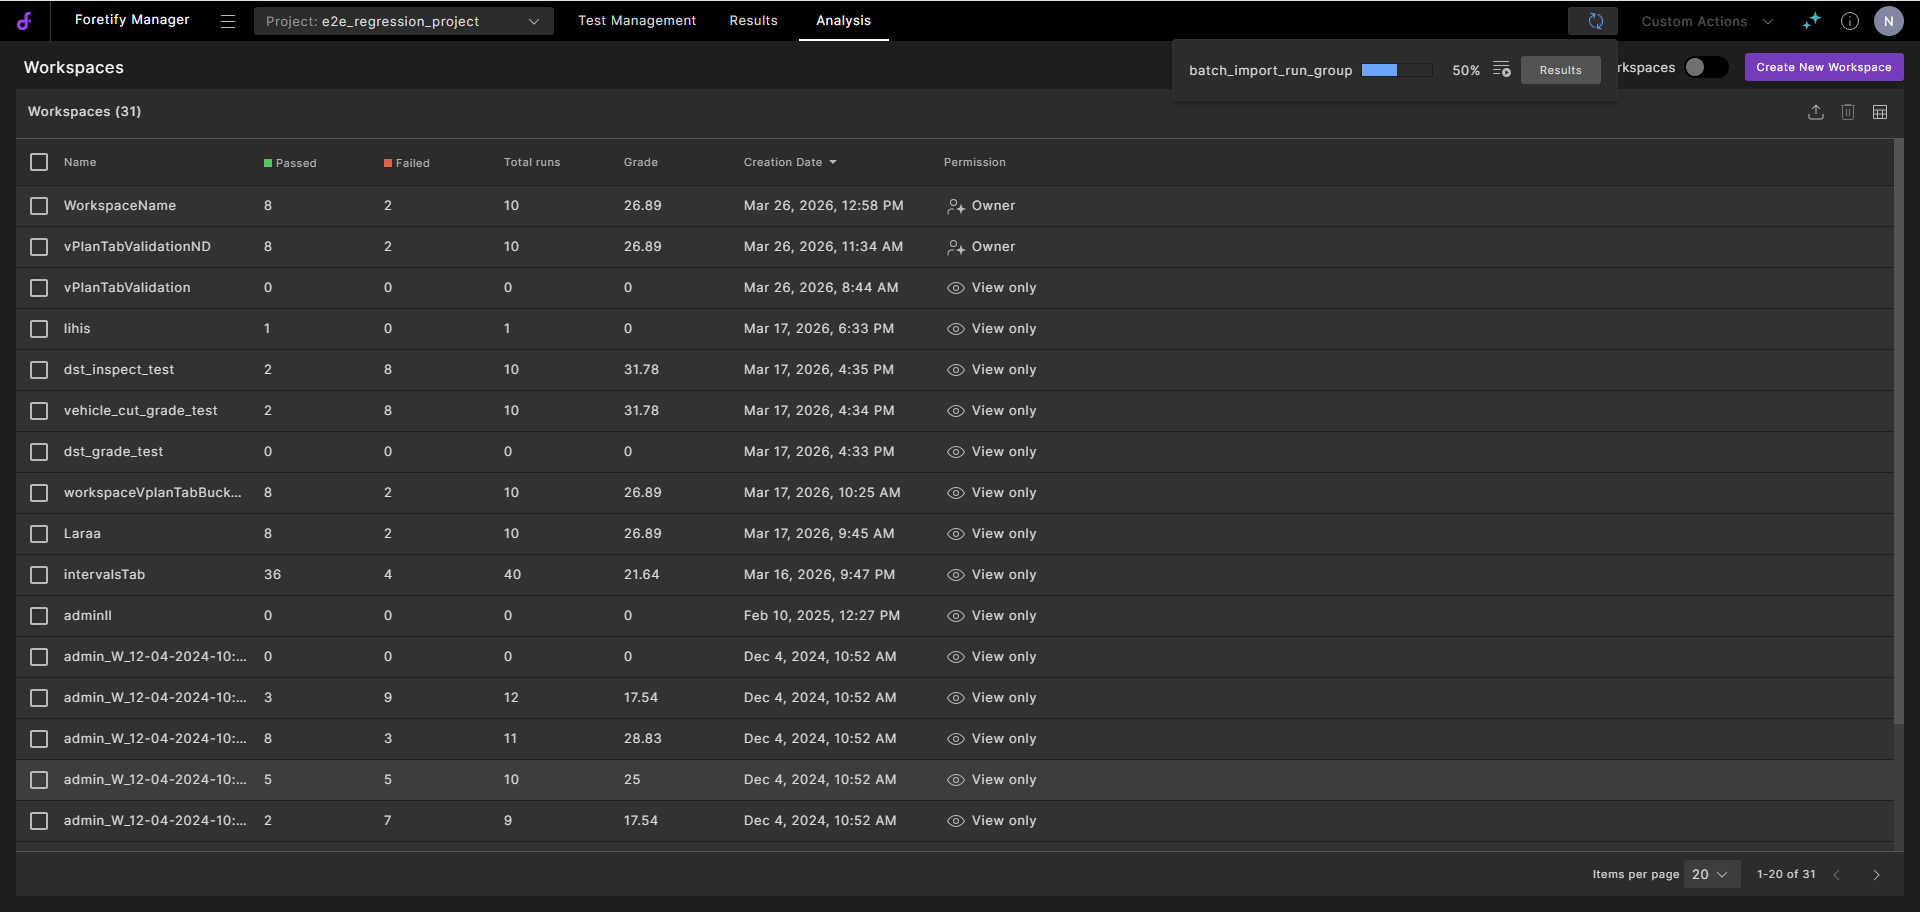
When the processing completes, click the Results icon to view the imported runs.
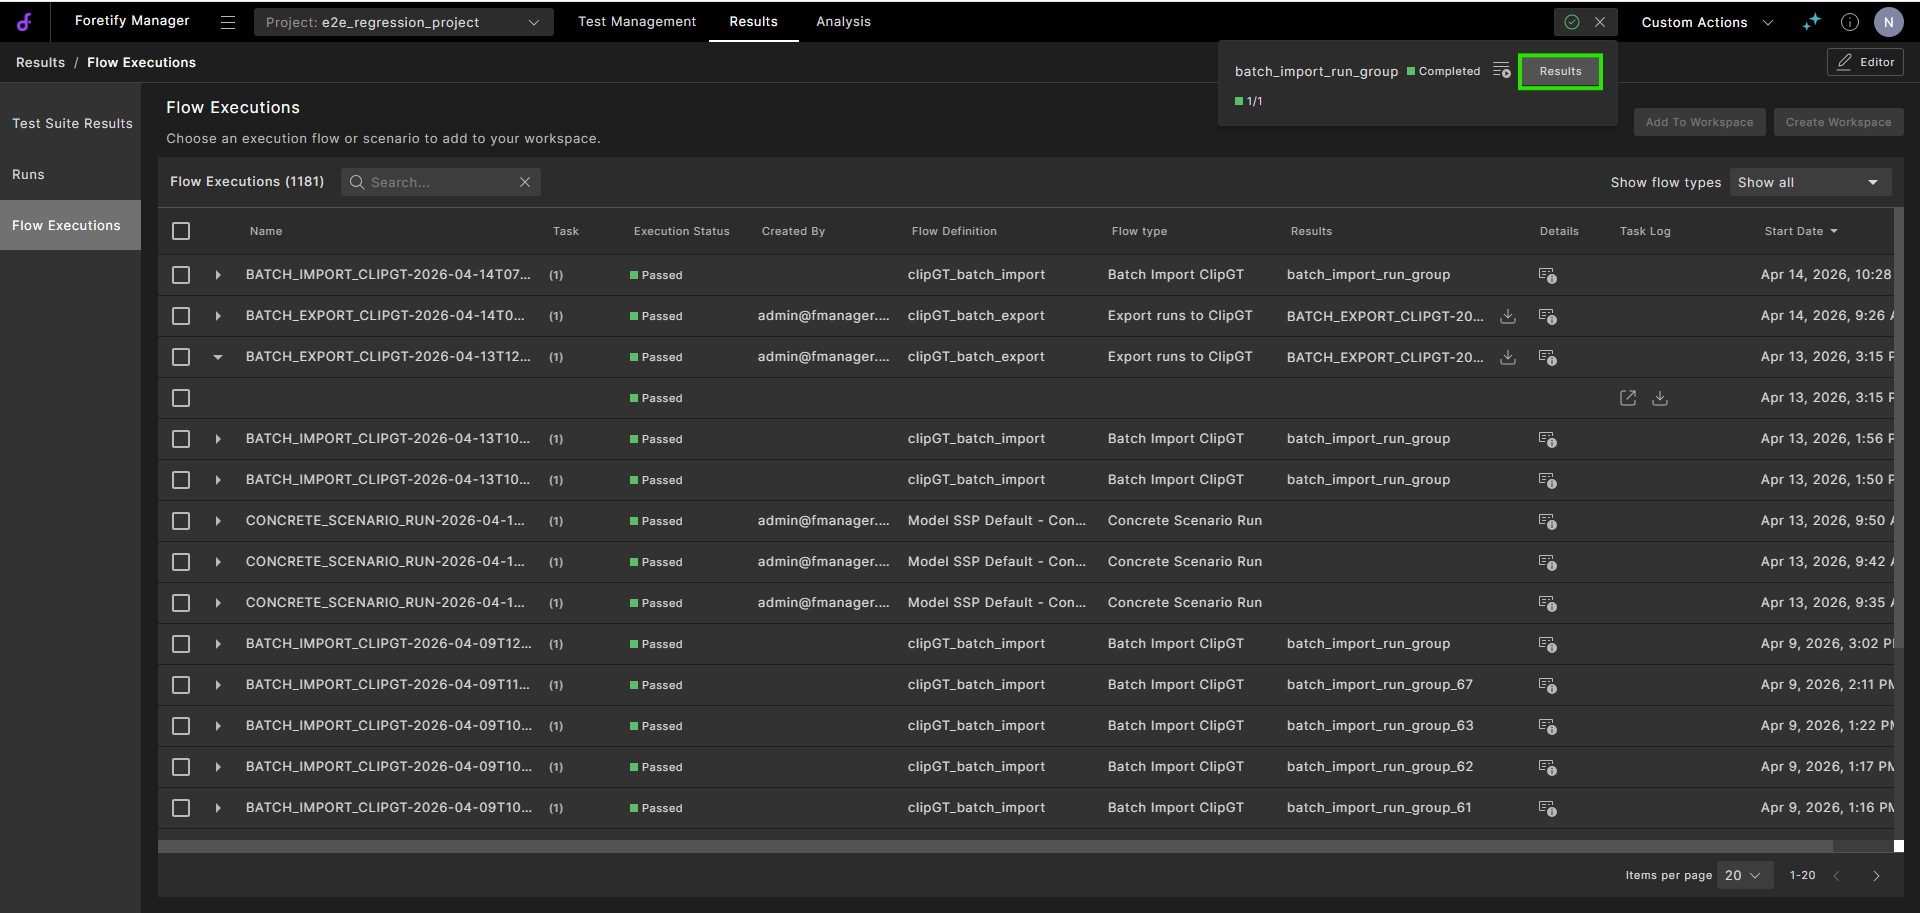
The runs are displayed in a list:
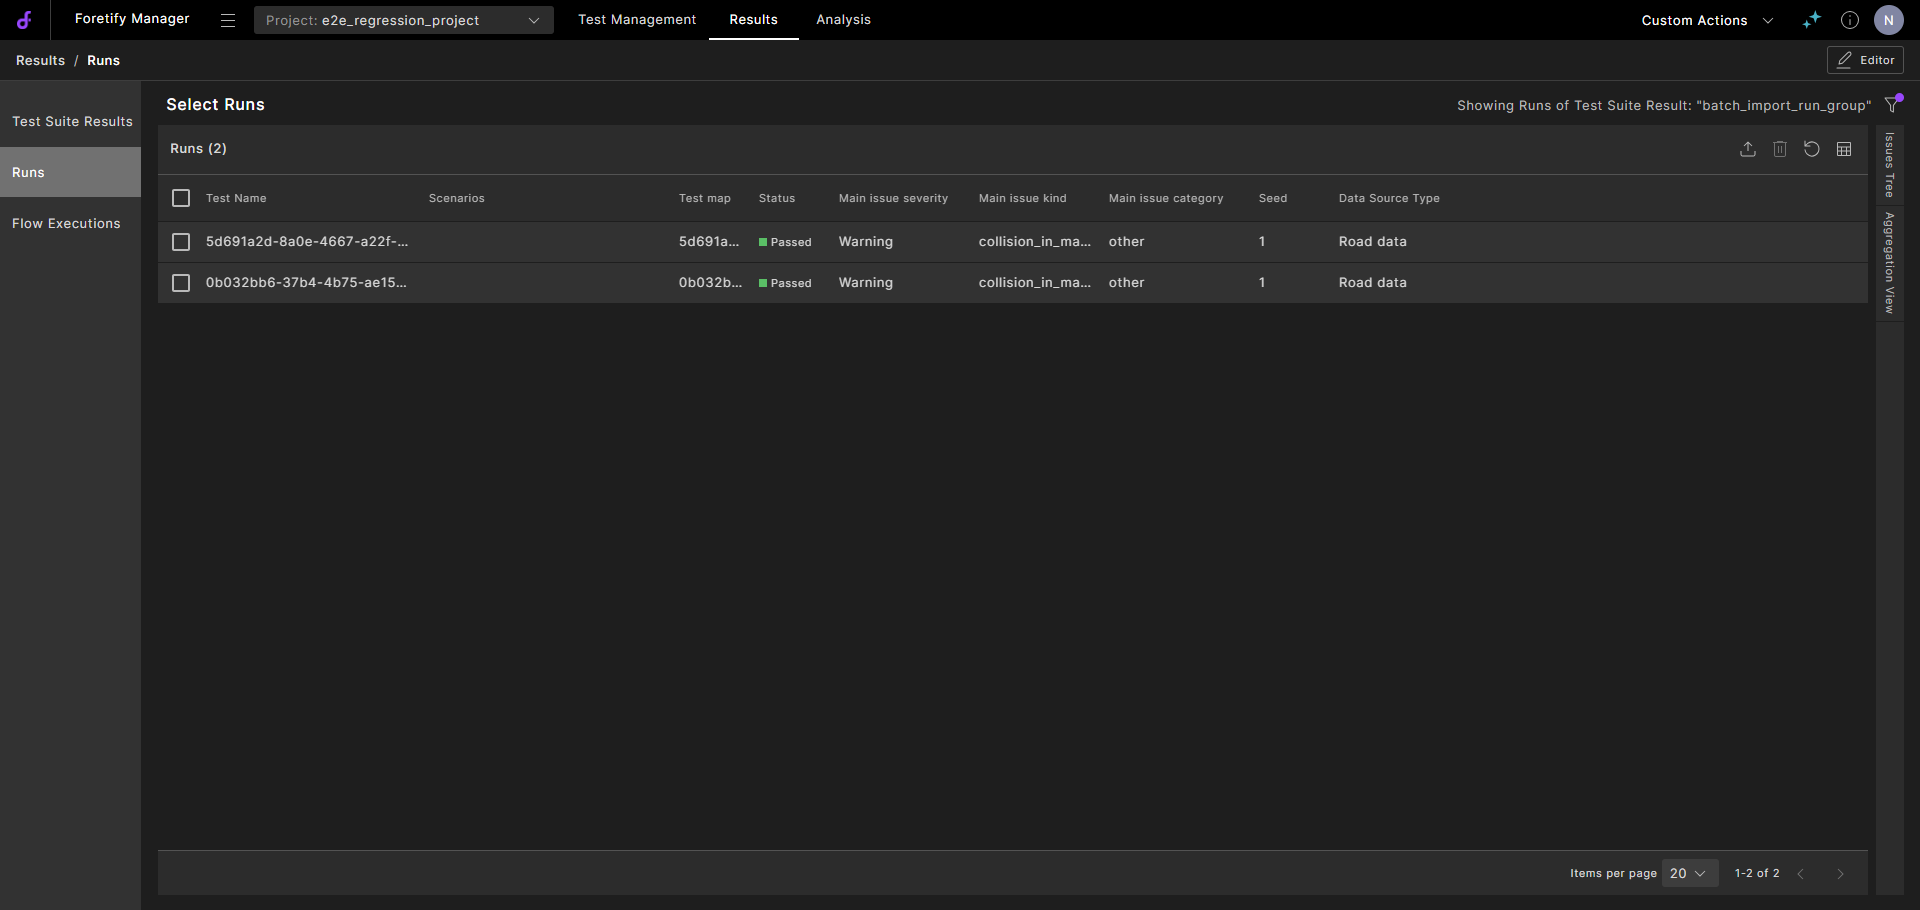
Click a run to view it in the Visualizer.
To evaluate the imported runs, proceed to Evaluate the clips.
7.3 Imported scenario alignment tags
When a clip is imported, the scenario ID includes an NVIDIA tag representing the complexity level of driving behavior.
In VPlans, you can filter the scenarios by these tags to:
- Filter runs based on by behavior complexity
- Measure coverage at each complexity level
- Focus debugging on specific maneuver types, such as L2 merges and overtakes
The complexity levels of tags are categorized as follows.
-
L0
- Base driving behaviors and simple navigation
- Simple, fundamental driving in a single lane, with no complex maneuvers or interactions.
- Examples include
drive_in_lane,drive_in_lane_keep_long,nav_intersection
-
L1
- Local interactions and adjustments within a lane or between adjacent lanes
- Maneuvers where the Ego slightly changes its lateral position or briefly interacts with an adjacent lane, but without a full lane change decision like an overtake.
- Examples include
nudge_in_laneandnudge_out_lane_adj
-
L2
- Higher-level maneuvers and multi-step behaviors (often involving multiple lanes or actors)
- More complex, multi-step decisions involving lane changes and interaction with other traffic.
- Examples include
drive_in_lane_mergeandchange_lane_to_overtake